Deleted
Deleted Member
Posts: 0
|
Post by Deleted on Aug 11, 2010 21:09:54 GMT
I dont think i could've fitted anything wrong tbh, the engine bolts onto the gearbox, the body rests on the chassis rails. ;D I'm pretty sure was the same height as when i got the car, you can just see on the pic below. It could be the '73 fan shroud, combined with the nikki carb and the brown & geeson manifold (which is very chunky).  Number plates, number plate surround and reflectors are tomorrows job and that'll be the rear end finished. p.s. Cheers for the offer Pelland, the misses has put her foot down and said to keep them until either the car is finished and im sure i wont use them, or until she buys herself a project they can go on. You will be the first person I contact if i change her mind ;D |
|
Deleted
Deleted Member
Posts: 0
|
Post by Deleted on Aug 12, 2010 9:40:15 GMT
I dont think i could've fitted anything wrong tbh, the engine bolts onto the gearbox, the body rests on the chassis rails. ;D I'm pretty sure was the same height as when i got the car, you can just see on the pic below. It could be the '73 fan shroud, combined with the nikki carb and the brown & geeson manifold (which is very chunky).  Number plates, number plate surround and reflectors are tomorrows job and that'll be the rear end finished. p.s. Cheers for the offer Pelland, the misses has put her foot down and said to keep them until either the car is finished and im sure i wont use them, or until she buys herself a project they can go on. You will be the first person I contact if i change her mind ;D Yeah looking at it, it might be the camera angle giving the impression that the fan shroud is high. The Nikki carb always did sit high in comparison with the stock carb and other alternatives...forgot you were using that carb and didn't spot it in the pic  Have a good day mate. Chris |
|
Deleted
Deleted Member
Posts: 0
|
Post by Deleted on Aug 21, 2010 21:50:36 GMT
Few updates this week, finally got a clean windscreen surround, petrol failed  and it took a while to get all the silicone off. I cut down the air-filter, it's pretty pathetic, i'm not even certain it will allow enough air in.....but we'll see, the 1300 engine isnt going to be in there too long so not that fussed. Got all my spares, bits and bobs out of the shed. Doors are on the car, but i will need to move the holes in the roof to get a better fit. Dash and dials all ready to go in, wires and relays arrived! Fog lights ready to be fitted to the front bumper......getting closer!! Got to sit the car for the first time, was such a little kid about it, voom voom!!  And it's starting to look like a car. If it all looks a bit off, that cos the dozy muppet who did the exhaust cut out, did off to the left and thus makes everything else look off! My eyes play evil tricks, i seriously stood there for 20 minutes, measuring and re-measuring and i still thought it was wrong. also not helped that the right rear light needs to be adjusted a bit as it's a not quite level. :wink:   So i'm happy, big week coming up, lots of wiring. Still need a horn, fuseboxes and terminals. |
|
|
|
Post by Peter on Aug 21, 2010 23:10:39 GMT
How many Ferraris. Lambo etc have bumpers?
|
|
|
|
Post by chrisbailey on Aug 22, 2010 11:12:28 GMT
The eagle is looking d**n NICE!
What lights did you use for the rear, are they original fit?
Also have to sorted the hinges for the doors out? are you going stainless or are you hinges still good?
|
|
Deleted
Deleted Member
Posts: 0
|
Post by Deleted on Aug 22, 2010 21:30:13 GMT
Cheers Chris, the lights are just trailer ones off ebay, main reason i got them was that they were the same size as the holes the last owner cut.
The hinges are still the original ones, i've not yet had a real look at them to see whether its worth changing them. I hope not. ;D
|
|
Deleted
Deleted Member
Posts: 0
|
Post by Deleted on Aug 23, 2010 20:21:44 GMT
Two questions today, does anyone else's SS kinda miss out on the rear corner of the chassis? The body interior curve against the 90* chassis means there's a small gap. Wondering if anyone had to fibreglass a patch, or something to seal the interior?
Today I've just started trying to fit the doors, as per most they've somewhat warped or twisted so although they're perfect at the top, they're out at the bottom. I'm going to try sanding/shaving down the edges where it's touching to see if i can make it fit.
((Oh and Chris the hinges are a little rusted, but not worth cutting them out (...yet...), going to dig out/brush down the rust, hammerite and fibreglass any areas i can see water getting in.))
Second question is, even if the doors were a perfect fit,it certainly wouldnt be watertight, there are still some huge gaps especially at the bottom. What's the cure? do I have to build up the inner frame so the door touches it?
Cheers Ben
|
|
Deleted
Deleted Member
Posts: 0
|
Post by Deleted on Aug 23, 2010 21:50:14 GMT
Today I've just started trying to fit the doors, as per most they've somewhat warped or twisted so although they're perfect at the top, they're out at the bottom. I'm going to try sanding/shaving down the edges where it's touching to see if i can make it fit. Second question is, even if the doors were a perfect fit,it certainly wouldnt be watertight, there are still some huge gaps especially at the bottom. What's the cure? do I have to build up the inner frame so the door touches it? Cheers Ben You might find that the doors were warped right from the start as grp generally takes a couple of weeks to cure properly and once removed from the moulds need to be stored correctly during the curing period. Failure to due this will result in some distortion. We had problems with the Charger doors until a solution was found. In my opinion the car will look wrong if the doors are standing proud of the rest of the bodyshell so you need to find a way to tease them back into shape. This can be done with a garage heater and heating up the panel. Once heated then you need to ease the panel back into to shape and clamp, then leave to cool. However this is very much easier said than done and is very easy for the panel to be reduced to scrap  Define "Huge gap"....you will want some rubber trip to seal the door against the door jamp all round.....this is available from Creech Coachtrimming or similar and is approx 12-15mm wide with an "O" section that is squashed as the door closes and forms a watertight seal...ideally!! If the gap is bigger than this then some fettling is needed. You can build up the inner door or door jamb on the shell...or both...whichever is less obvious on the finished car. Before any of the above check that there is no adjustment to be had on the hinge/door mounting to help the cause...once again on the Charger we had around 1/2 inch to play with on the hinge mount. Good luck chris |
|
|
|
Post by Peter on Aug 23, 2010 22:56:46 GMT
On nearly every SS I have seen the bottom rear of the doors stick out, including mine, main culprit is the ram pushing the rear of the door all the time, un-hook the rams and they drop into place neat as you like usually. As Chris says. heat and time will bend them back.
|
|
Deleted
Deleted Member
Posts: 0
|
Post by Deleted on Aug 24, 2010 8:57:56 GMT
Good point Peter........how do the doors look without the rams fitted?
Is the ram too high a pressure and distorting the door panel when closed?......a solution is to find one that was designed for a lighter application or alternatively is there scope to move the mount on the door further down?
|
|
Deleted
Deleted Member
Posts: 0
|
Post by Deleted on Aug 24, 2010 9:45:31 GMT
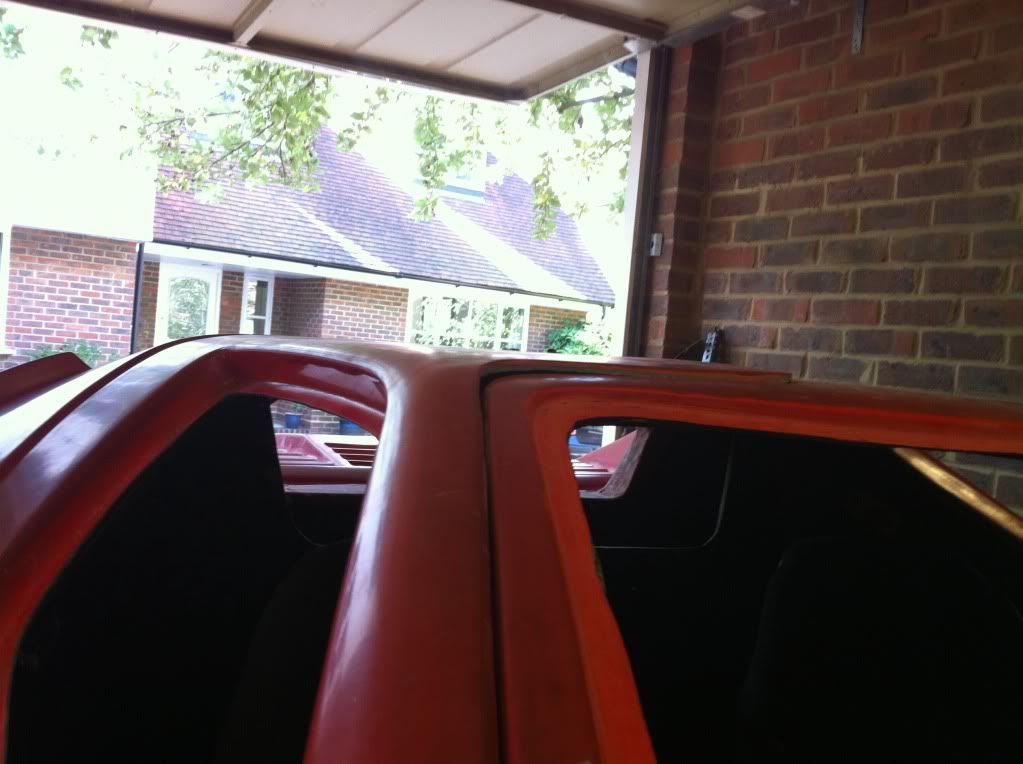
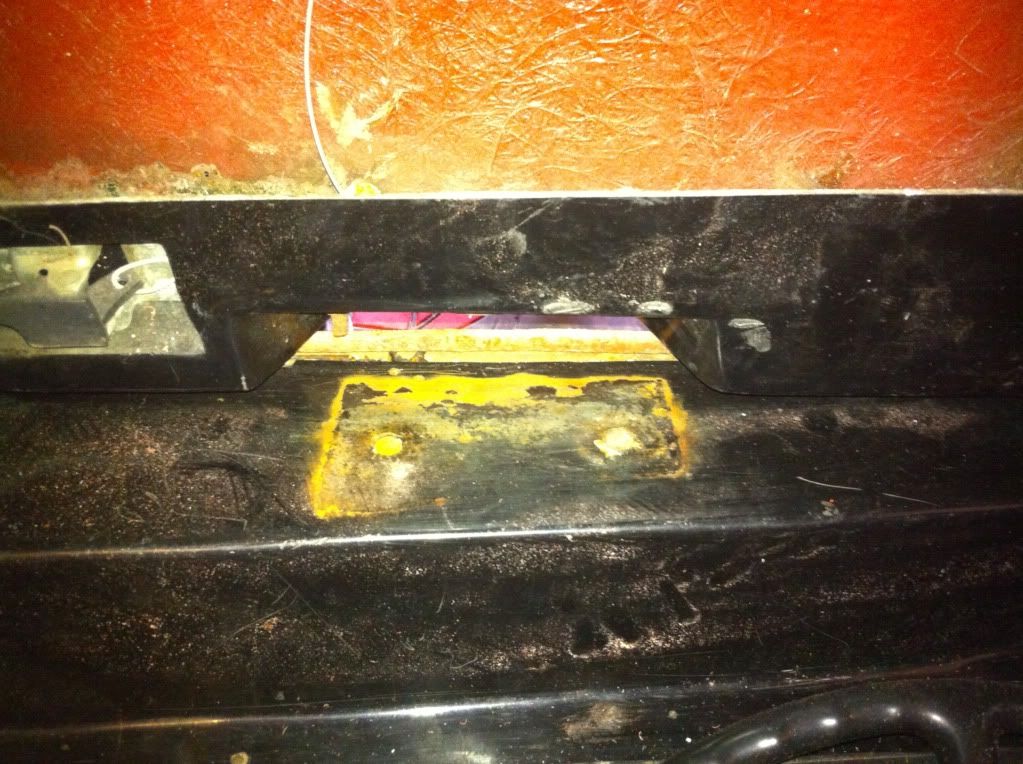
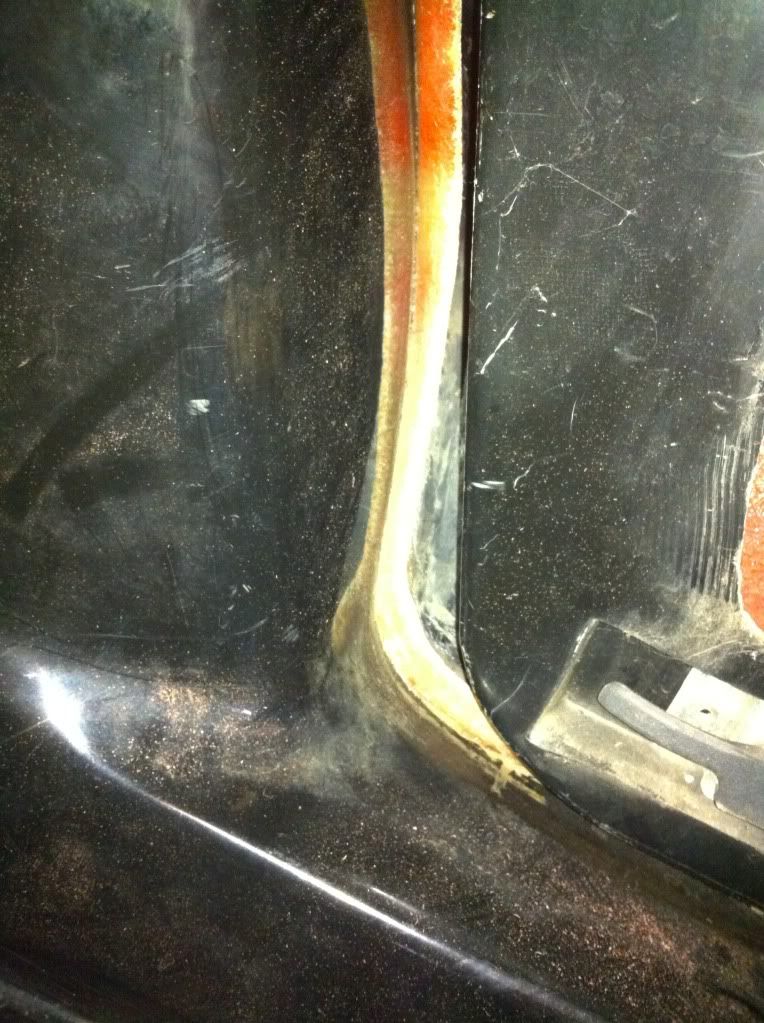
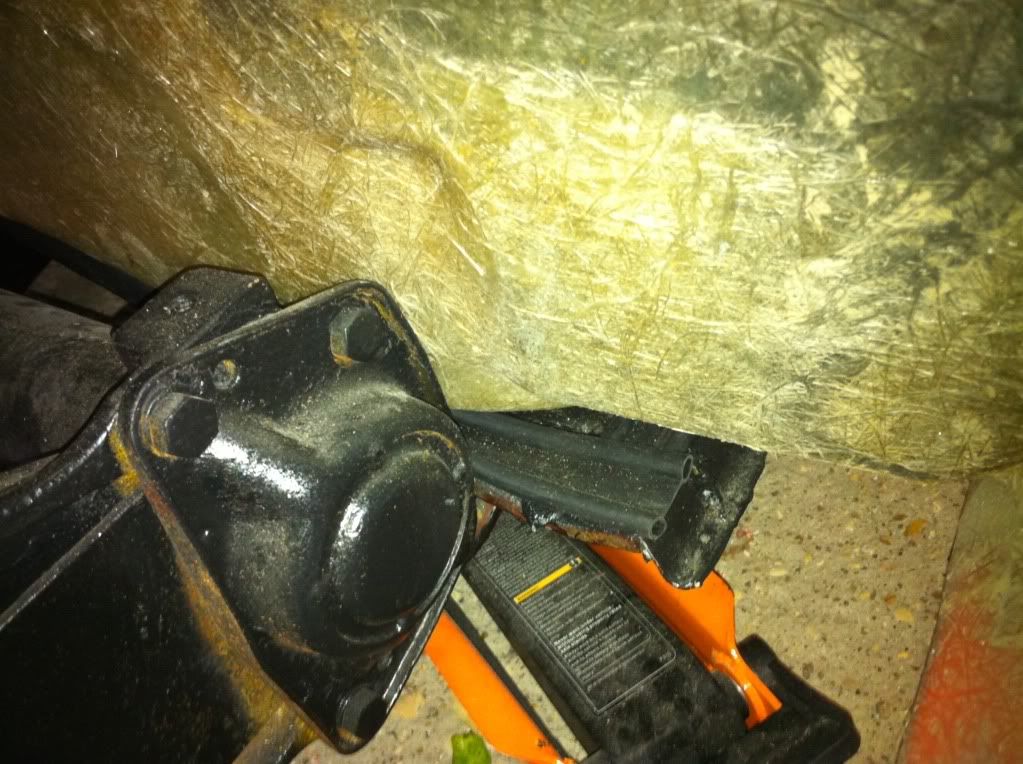
Thought i'd put a take a few pics to explain better. As peter said the bottom of the door sticks out when just sat on the frame with no rams/hinges.  And if I line the bottom up correctly, the front edge of the door (at the corner of the screen) sticks up. Could this be that the windscreen frame has sagged?  Here are the few gaps too, directly below the lock and the front bottom corner of the door. Not great photos. but both I could stick a little finger through.   Finally the rear chassis corner showing the gap where the body corner doesnt meet.  |
|
Deleted
Deleted Member
Posts: 0
|
Post by Deleted on Aug 24, 2010 17:55:00 GMT
Thought i'd put a take a few pics to explain better. As peter said the bottom of the door sticks out when just sat on the frame with no rams/hinges.  And if I line the bottom up correctly, the front edge of the door (at the corner of the screen) sticks up. Could this be that the windscreen frame has sagged?  Here are the few gaps too, directly below the lock and the front bottom corner of the door. Not great photos. but both I could stick a little finger through.   Finally the rear chassis corner showing the gap where the body corner doesnt meet.  Ben Looking at the first picture it looks like the doors are low to the roof line and the base sitting proud of the side of the bodyshell. Pushing the base of the doors inwards so that they are flush is raising the doors against the roofline. I would suggest that you will have to shim up the doors so that you get best compromise of fit. Your alternatives are to rework the doors and tease them into fitting as mentioned above, find an alternative pair of doors to see if they fit any better...no guarantees obviously or live with it....not satisfactory given the work you have already put in. Unlikely that the main tub/screen surround has sagged unless you have had stuff piled up on top of it....checking the fit of the screen might confirm one way or the other. As far as the gaps inside are concerned I think you going to have to get the best fit from the outside viewpoint and then build up the doors and door jambs to obtain a better visual fit from the inside and of course get watertight. Can't help you with the chassis v's bodyshell gap...Peter is the only other V-dub based SS on here at the mo...maybe he can answer the question. Good luck Chris ps sent you a pm on VZI re some of your parts for sale  |
|
Deleted
Deleted Member
Posts: 0
|
Post by Deleted on Aug 24, 2010 21:54:35 GMT
Ben, I have the same problem as you with regard to the fitting of the doors. My solution would be to follow the example of Garry Stretton of Classics magazine who recently re-skinned (with the original skins) the doors of his Peerless GT (another GRP car of which I, too, have one). His (and the way I'd do it too) would be to cut round the inside of the door skin where it meets the inside panel to the extent to which it is out of line with the body. Trim back the inner door so that its flush with the body but, at the same time, making an allowance for the thickness of the skin. Use a timber batten to force the outer door skin so that it sits flush with the body and re-glass the inner to the door skin from the inside. Sounds complex but it's fairly simple if a little messy. If you can get hold of some back issues of Classics mag (from about 3-4 months ago) there's a pictorial feature on how it was done on the Peerless.
|
|
Deleted
Deleted Member
Posts: 0
|
Post by Deleted on Aug 25, 2010 18:57:03 GMT
Hmmm  Sounds very extreme and scary, dont think my skills are that good yet. Just about getting the hang of fibreglassing. |
|
Deleted
Deleted Member
Posts: 0
|
Post by Deleted on Aug 25, 2010 19:58:15 GMT
Hmmm  Sounds very extreme and scary, dont think my skills are that good yet. Just about getting the hang of fibreglassing. Sounds more daunting that it is in reality but perhps not a job for the novice grp worker. Check you local yellow pages for a grp boat builder/repairer.....might be able to assist. Good luck |
|
|
|
Post by Peter on Aug 25, 2010 21:26:42 GMT
I found Trident caravans in Cheltenham very helpfull in all areas of glass fibre work, (they make the Salvation Army cidital emblems, Postman Pat ride-ons etc. very diverse) Big gaps, doors sticking out etc, sounds just like mine,  I still have a 3" gap between the rear of the door and the body and so what, the outside looks good. You will also find the left and right hand doors are different sizes too. Acitone is good stuff to have handy in this work, (you'll need a bit more than mum's bottle of nail polish remover though) not only keeps your brushes from going solid in 5 minuets but softens the old stuff so you can bond new glass to it. |
|
|
|
Post by chrisbailey on Aug 26, 2010 10:36:42 GMT
My doors are exactlythe same, its just the way they came out of the moulds.
I found the steel hinges had rusted up in mine swelling the tops of the doors, this made it look like they were sitting high, if thats the case with yours aswell the only way of correcting it is to de laminate the top of the doors, pull the old hinge out and put in a stainless replacement.
I ended up just cutting the hinges out of the door and then fibreglassing and bodyfilling the roof back up.
When bolted down my doors sit flush with the roof, however there is not much else you can you with the rest of the door.
I have some photos on here somewhere showing how i did it.
|
|
|
|
Post by Gary on Aug 26, 2010 20:10:12 GMT
Chris. Your pictures are on page four of this thread.  |
|
Deleted
Deleted Member
Posts: 0
|
Post by Deleted on Sept 17, 2010 20:16:07 GMT
Firstly a little catch up: The electrics are finally done, i've had no end of issues with crappy relays and fuses (shocking quality control) but i finally got there. There's still the windscreen wiper motor to source (what should i use?) and fit but it's on it's own circuit so it's easy to add. For some reason I cant get the gauges to work, they test ok with the battery but dont work when hooked up, not going to spend a huge amount of time worrying, they may not even work with the beetle stuff. Speedo works as it's cable driven but not sure if it's going to be the right speed. Headlights have been a hassle too with no end of adjustment. Though the system of microswitches is effective, d**n it's fiddly. I spend a whole day working out why they weren't rising on the switch (first fuse was dead on arrival and i "tested" it with another doa fuse, sending me in the complete wrong direction), then the relay decided to die too and then another day getting them to sit correctly. To add to the stress, when the wiring was all done, the engine didnt start. I didnt think I'd changed anything since i put the body on and did the electrics so I spent nearly a week working out what i'd messed up, (turns out i'd seriously changed the dizzy timing while changing the oil ring and the engine also kept flooding because i'd put the float needle in the wrong way round :dunce: ) BUT...and it's a big one.......today I got my first drive in it! :groupwave: :groupwave:     I'm chuffed to bits. So I could add the boot, bonnet and front bumper while it was out on the drive. Had a little dilema with "do i/dont I use the bumper?" still not 100% sure, but it'll do for the moment.   Things left to do: - Bolt body/chassis together - Find and fit some seatbelts, the ones i have arent going to work - DOORS, big job getting them to fit correctly. - Bleed and adjust brakes again. - Put wing mirrors on doors - Find hinges/latches and fit the side window - Find and fit windscreen wiper and washer - Fit the numberplate - Find someone to fit the windscreen AND MOT HERE I COME, got two weeks till uni to try and do all the above.... |
|
Deleted
Deleted Member
Posts: 0
|
Post by Deleted on Sept 17, 2010 20:23:39 GMT
Oh and if those rear wheels look a little small against the arches...... dw im 2 steps ahead of you.....for when the MOT is done though.....    10 inch p295/50/r15 104s bf goodrich t/a radials, just legal/level with the arches |
|
Deleted
Deleted Member
Posts: 0
|
Post by Deleted on Sept 18, 2010 8:57:36 GMT
|
|
|
|
Post by Gary on Sept 20, 2010 20:30:23 GMT
Only my opinion, but I like it without the bumper, it some how looks wrong with it "TR7 type wrong"  Isn't it a great feeling when you finally get it started and drive it  |
|
|
|
Post by Peter on Sept 21, 2010 17:55:32 GMT
I haven't actually seen a long nose version (MkI & MkIII) with a bumper before, only the snub nosed MkII which was designed with a detachable nose. looks better without for sure.
|
|
Deleted
Deleted Member
Posts: 0
|
Post by Deleted on Sept 21, 2010 21:52:01 GMT
I prefer it with out the bumper too. I like the wheels you’ve got look really shiny have they been chromed or polished up? Looks like you’re going to have a busy two weeks to get all that done!! I’ve re-wired my car but still haven’t got around to doing the lights; they stay up all the time. Also your looks like they both lie flat the same on each side. Who ever put mine in made a bit of a bodge up as the rotating bar that joins them together isn’t level and the pods have been bent so they stick up differently.
I was considering changing mine to square headlights from a Toyota MR2. Has any one else changed theirs. Just thought it would go with the sqaureness of the number plate and fog lights.
|
|
Deleted
Deleted Member
Posts: 0
|
Post by Deleted on Sept 22, 2010 10:28:27 GMT
ChrisBailey has TR7 pop ups, his thread is on the euronova site though www.euro-nova.co.uk/phpbb/viewtopic.php?f=6&t=395They look very nice especially when down flat against the bodywork. Looks a lot of effort though, a bit too much for me adm. ;D |
|
|
|
Post by Peter on Sept 23, 2010 19:41:14 GMT
TR7 or simular are a lot of work and I still prefer Acids Alpha coupe ones for the "meant to be there" look. Anyway I think the SS pop ups are what define the car.
As for uneven pods, that's easy, they are clamped on by two U bolts each to the bar, just loosed a bit and rotate to match.
|
|
Deleted
Deleted Member
Posts: 0
|
Post by Deleted on Sept 23, 2010 19:47:17 GMT
If only it was that easy Peter ;D, mine had the metal u clamps fibreglassed in at different heights. Had to bend one to get it to the same height as the other. Still isnt quite perfect against the holes, but close enough for the moment.
|
|
|
|
Post by chrisbailey on Sept 23, 2010 21:41:15 GMT
The lights I had were alright, they were not motorized though so were first things in the bin. I am not sure what they came from, when I dismantled them they had the same gelcoat as my cars body? This may have been a coincidence because the old holes had definatley been modified.
I went with supra headlights which are much easier to fit than you would think, they fit the body lines really well. Having individual motors makes the wiring abit more complex but you know you wont have any problems being from a japanese car.
They even pop up pretty fast, sounds cool aswell.
By removing the popup light bar and the old hinges etc I have removed alot of weight, also got rid of the squeaking hinges.
They have H4 bulbs in and more or less sit in the same position as the carrige lamps, just look better.
Only cost me £30. They also have direct conversions for xenon HID bulbs which put out imense amount of light.
|
|