Deleted
Deleted Member
Posts: 0
|
Work done
May 30, 2014 5:35:39 GMT
via mobile
Post by Deleted on May 30, 2014 5:35:39 GMT
Morning all,
Cheers scooby for the heads up on doing a build thread.
More work has commenced and it's starting to take shape.
The rv now runs perfect (as perfect as an old pinto can run)
Most of the chassis rails have been painted, will get it down a friends workshop to get it in the air to finish the rest.
Electrics are as good as done now. Turns out most of it was down to zero earths and a faulty relay.
Next is to wire up the rear end as it was absolutely mangled. Then the rear brakes need looking at. Need to order some new headlamps as the old ones are shot. Then think she's ready for an attempt at putting a ticket on her
|
|
|
|
Post by scooby on May 30, 2014 9:22:47 GMT
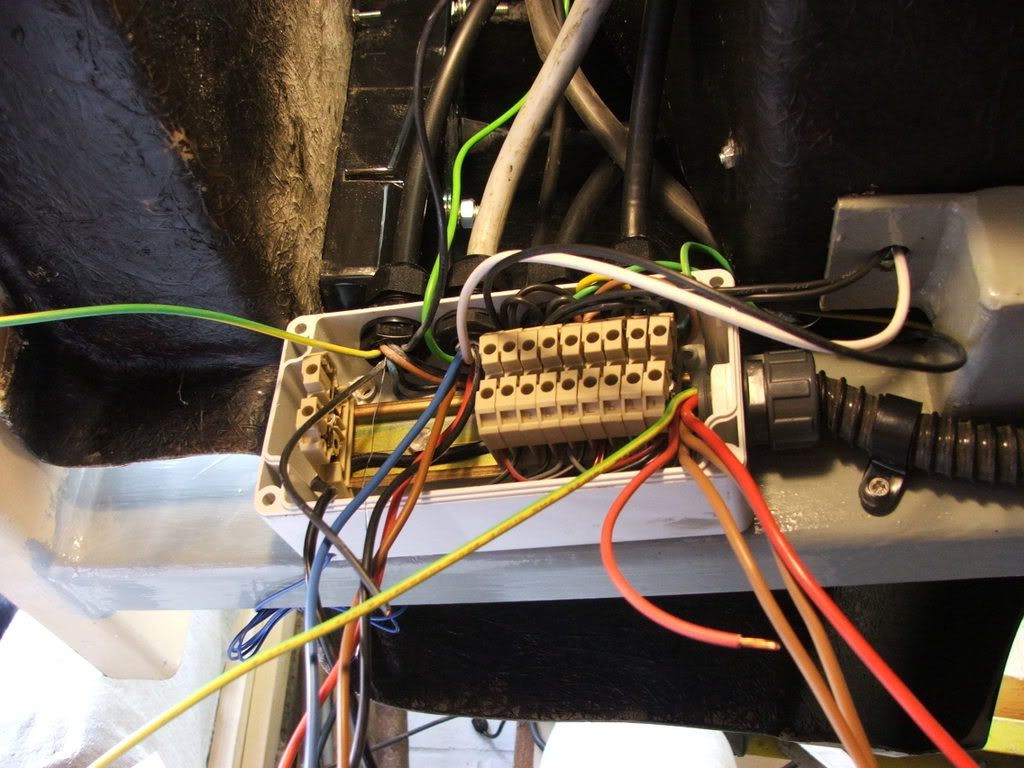
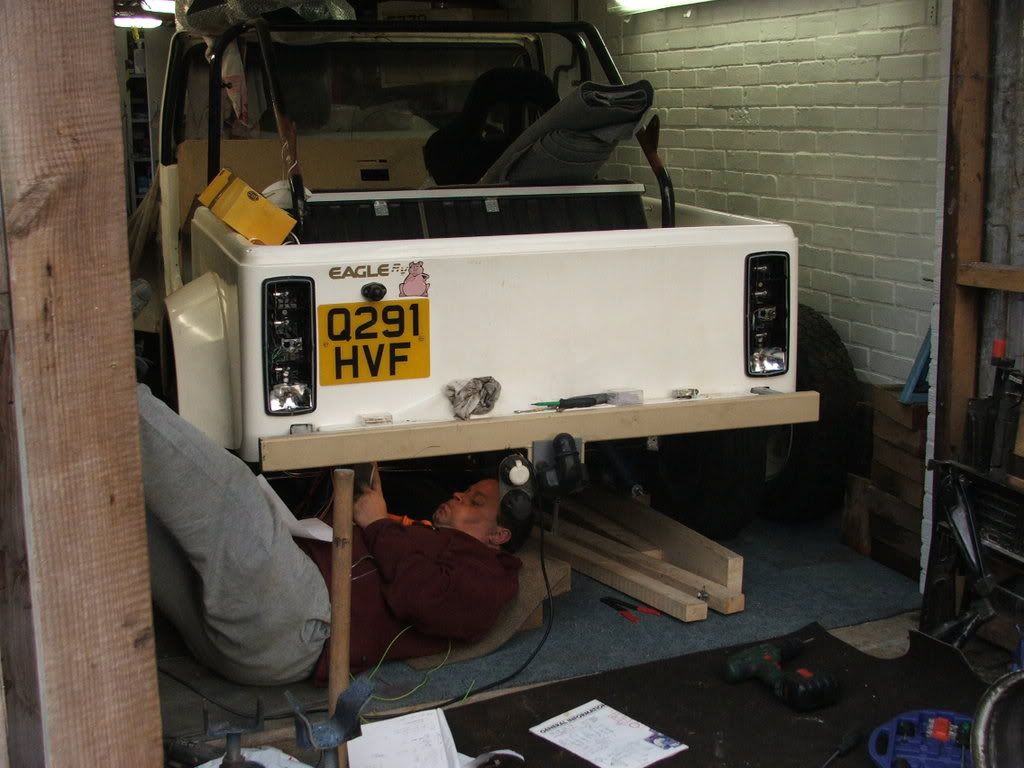
Ah, the 'mangled rear end'... Been there  . The wiring harness on my RV came through from the rear passenger area above, before descending into an unbelievable morass of tape, splices, clips, extensions and bare hanging wires. What I did to sort it was to buy a small IP-rated junction box (a bit like this, but a cheapo with a snap-on lid: www.screwfix.com/p/ip65-adaptable-box-80-x-80-x-52mm/14556 )and a 20A terminal strip. I attached the box to the chassis member just below where the cable came through, and - after leaving enough 'slack' - cut through the whole darned wiring harness and just junked all the mess beyond that. I wrapped additional tape around the harness as it came through from above to make sure it wouldn't undo, and passed it through one of the flexible grommets on the JB before baring each wire, 'tinning' each end and tightening it down into the terminal strip. After working out which wire did what (that took some figuring out, including a lot of help from here and BUYSELLCORTINAS - a very useful and helpful forum), I soldered the ends, inserted them into the terminal strip (2 separate lengths...) and then used 'trailer cable' to continue the wiring to the light clusters, number plate and rear trailer socket. 'Trailer cable' is ideal - cheap, weatherproof, flexible and has only 7 wires - a fine example of 'KISS'! Oh yes - rather than then rely on separate 'earths' (= future problems...), I took one hefty earth wire from a secure chassis screw and added this to the terminal strip. The trailer cable now carries its own earth to all the lights. Yes, I know this means that a single cable will be taking all the power for all the lights, but (a) it'll cope (brake & indicator lights are intermittent anyways...) and (b) I have already replaced the rear/brake & fog lamps with LEDs, and will be doin ditto with the indicators (actually I may already have done this -I need to check!) (Oh yes again, I also bought an electronic indicator relay on 'Bay for a few squid which ensures the flash rate remains steady regardless of the power being drawn, so you can swap to LED bulbs as you wish.) Once done, I gave the whole insides of the 'box and the 'strips a good spray of WD40, and snapped on the lid. Made life a lot easier... |
|
|
|
Post by Gary on May 30, 2014 21:13:43 GMT
|
|
Deleted
Deleted Member
Posts: 0
|
Post by Deleted on Jul 22, 2014 7:21:27 GMT
morning all,  for the delay in replying. ended up cutting all of the cabling right back inside the vehicle as the copper had sustained serious water damage and I couldnt solder any new cable to it. Plus the tank sender cable is missing etc so just making up a new loom. New headlamps fitted along with wipac bowls and new rubber seals. New h4 bulb connectors. Engine bay wiring has been re loomed and new earths run for each piece of kit that needed one under the hood. Found a split/arc'd out section under the bonnet for a main live feed which would be why I had no live to the barrel. Have a working hazard light circuit too. Will finally get to the rear end this weeekend. Then it'll be to finish up inside. Weld the seats in to the base plates change some bushes, then the dreaded MOT |
|
Deleted
Deleted Member
Posts: 0
|
Work done
Aug 18, 2014 5:43:20 GMT
via mobile
Post by Deleted on Aug 18, 2014 5:43:20 GMT
Well, Rv prepped for spraying apart from the front grill. The picture below is before she was completely prepped but she's looking good already without a fresh coat of primer and paint. Hopefully hitting her with primer this weekend 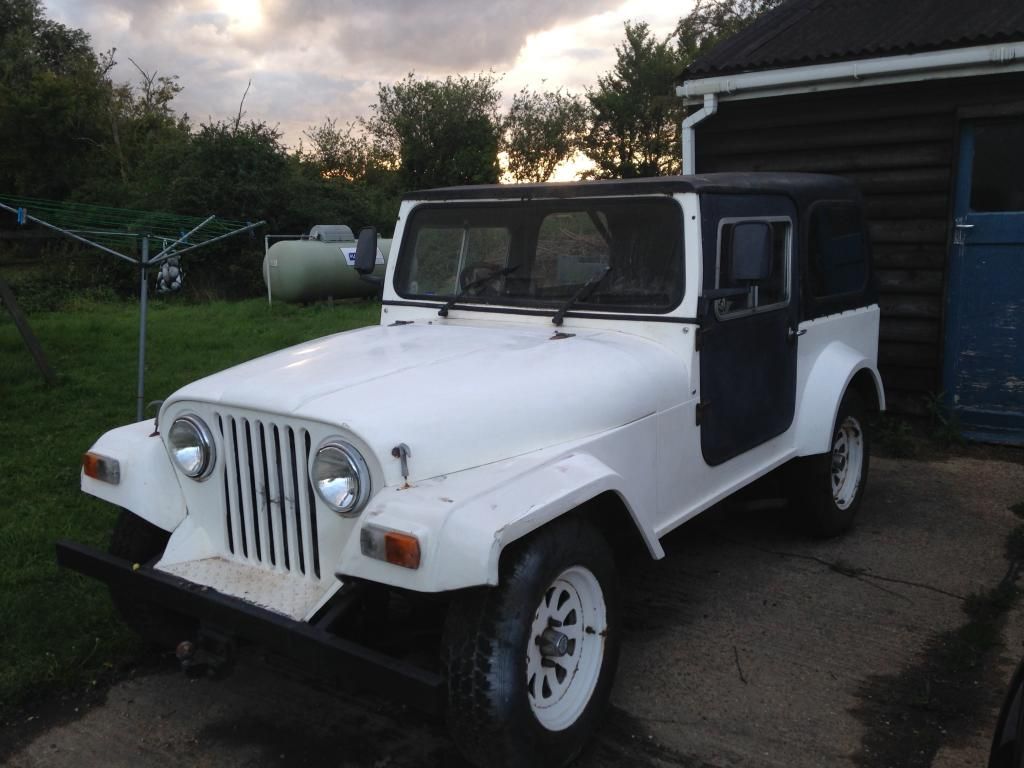 |
|
Deleted
Deleted Member
Posts: 0
|
Post by Deleted on Sept 19, 2014 18:58:59 GMT
|
|
Deleted
Deleted Member
Posts: 0
|
Post by Deleted on Sept 20, 2014 18:05:02 GMT
|
|
Deleted
Deleted Member
Posts: 0
|
Post by Deleted on May 24, 2015 18:17:23 GMT
Hi all, Been a long time since i've been on here. Just thought i'd get some pictures up. Bonnet resprayed after it got taken away by the wind up the drive way and wrecked. Electrics completely finished from start to finish. Just need to fit the fuel tank, few bushes and sort rear brakes and paint the wheels and she's ready for her MOT. Had to make up some seat bases and weld the seats to the base. 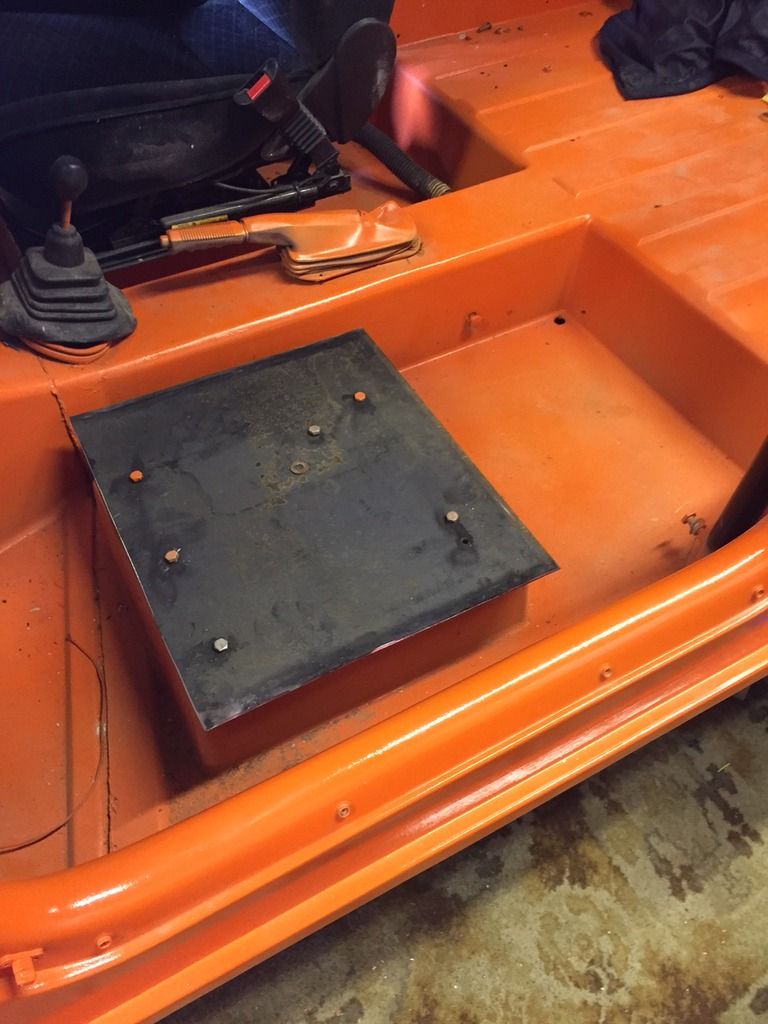 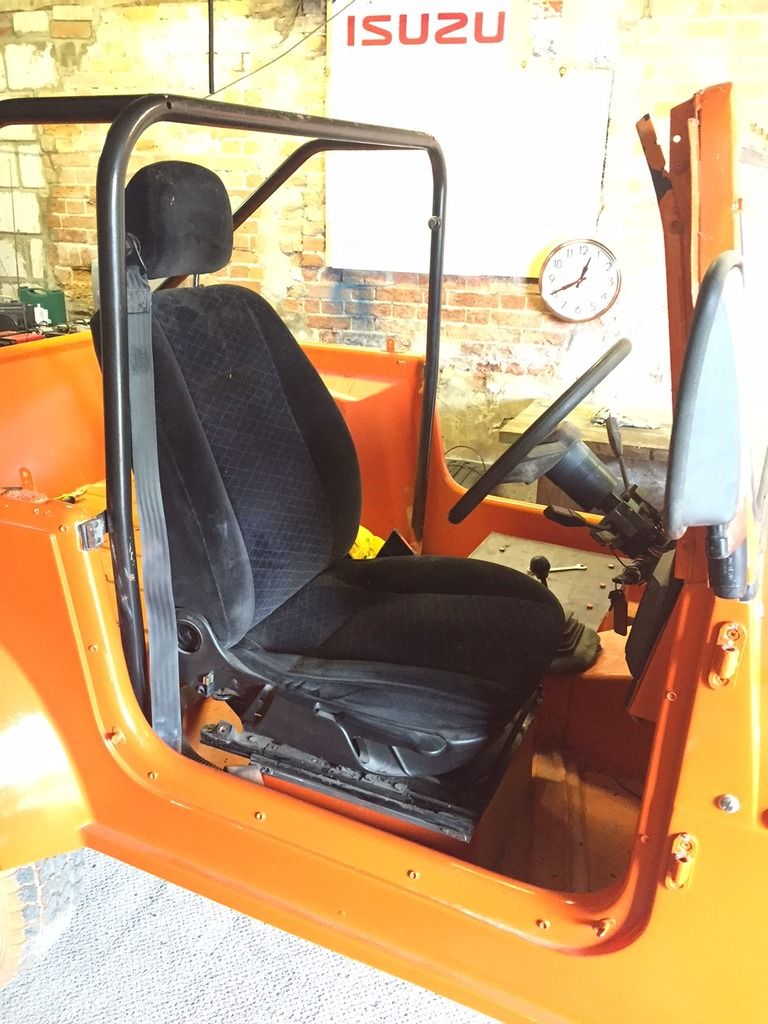 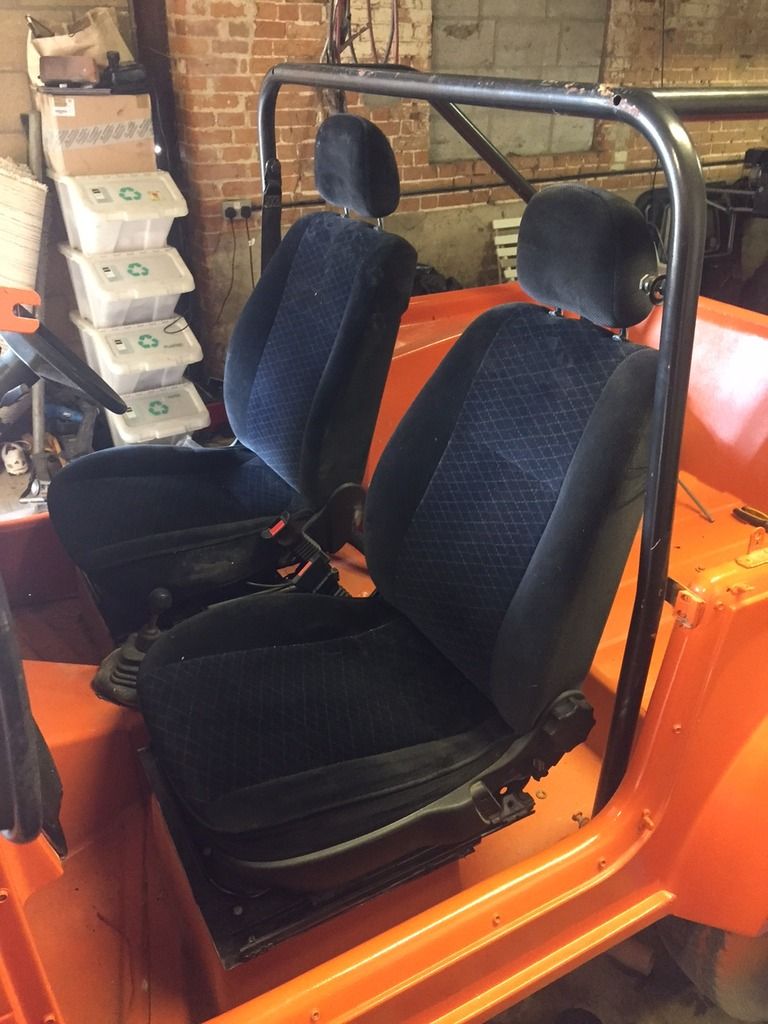 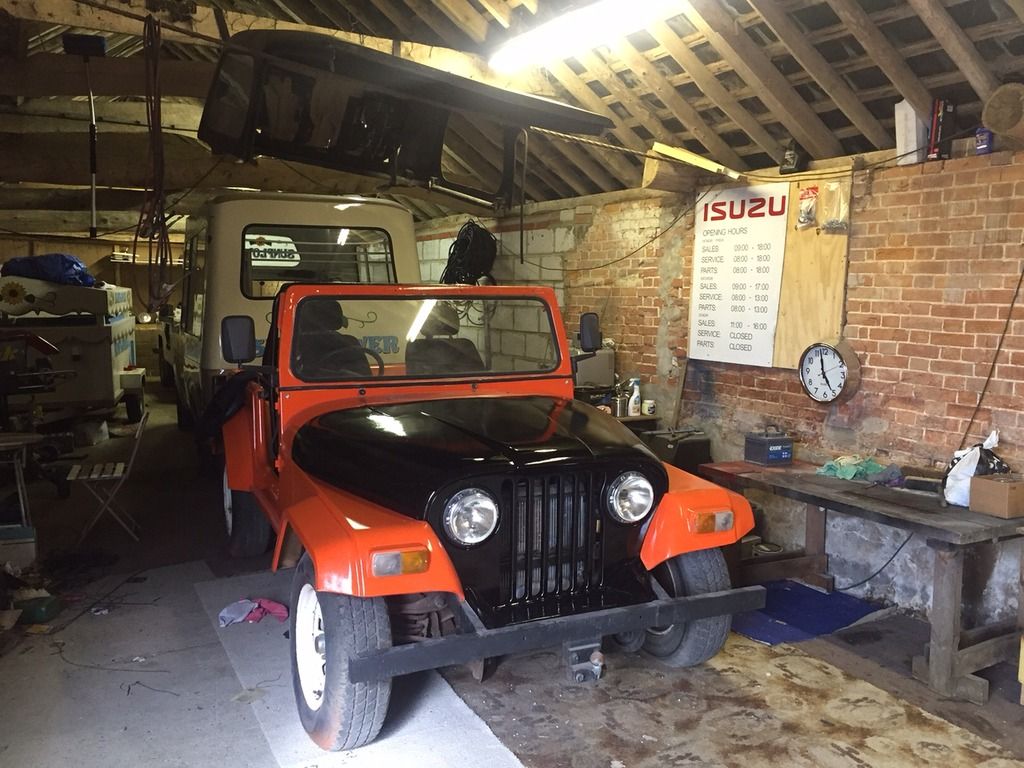 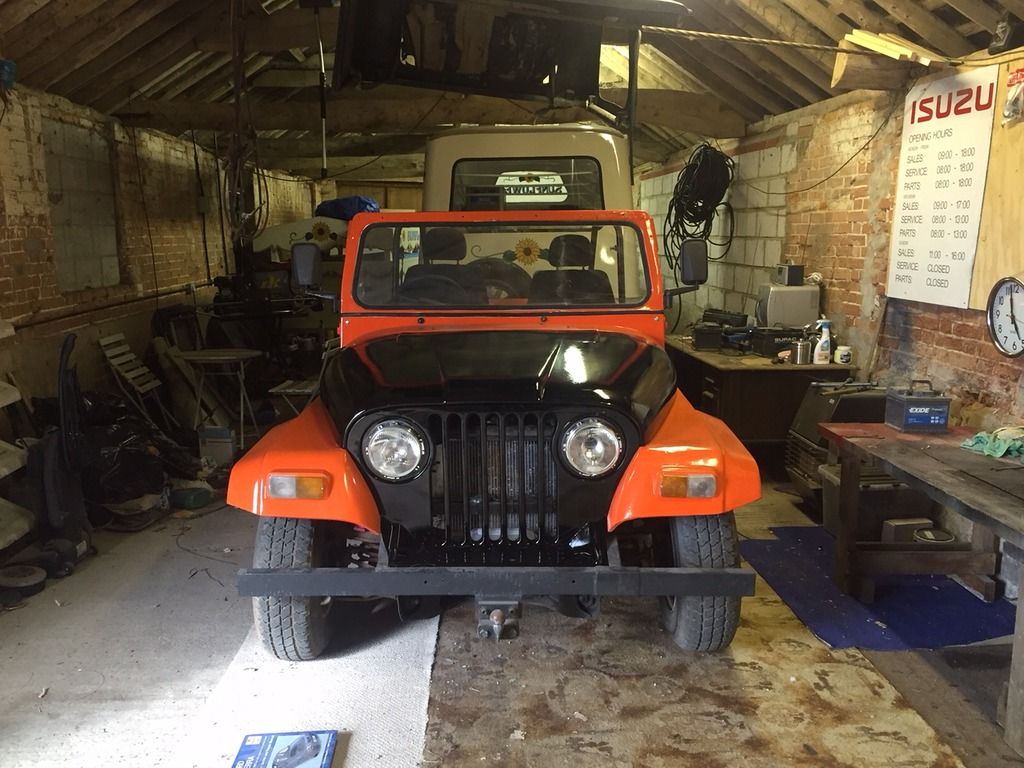 |
|
|
|
Post by Peter on May 25, 2015 6:15:12 GMT
That is looking very smart, love the two tone.
|
|
Deleted
Deleted Member
Posts: 0
|
Work done
May 25, 2015 22:12:34 GMT
via mobile
Post by Deleted on May 25, 2015 22:12:34 GMT
Thank you peter. I done the black as needed to break the orange up. It was too much. Going to put some sort of black graphic on the rear quarter. It's not the best paint job but just want to get the RV on the road and do a proper overhaul in winter
|
|
|
|
Post by Peter on May 11, 2016 9:40:58 GMT
And a year on, how is it running, haven't seen it since.
|
|
|
|
Post by Peter on Feb 24, 2018 13:19:55 GMT
And a year on, how is it running, haven't seen it since. Now TWO years on. try VGY for photos as Photobucket has gone . |
|


 .
.


 for the delay in replying. ended up cutting all of the cabling right back inside the vehicle as the copper had sustained serious water damage and I couldnt solder any new cable to it. Plus the tank sender cable is missing etc so just making up a new loom.


