|
|
Post by Peter on Sept 11, 2013 9:55:13 GMT
Just making sure it all works. The 'standard head and rear lights work a treat and always have. These are the new LED lights. Indicators 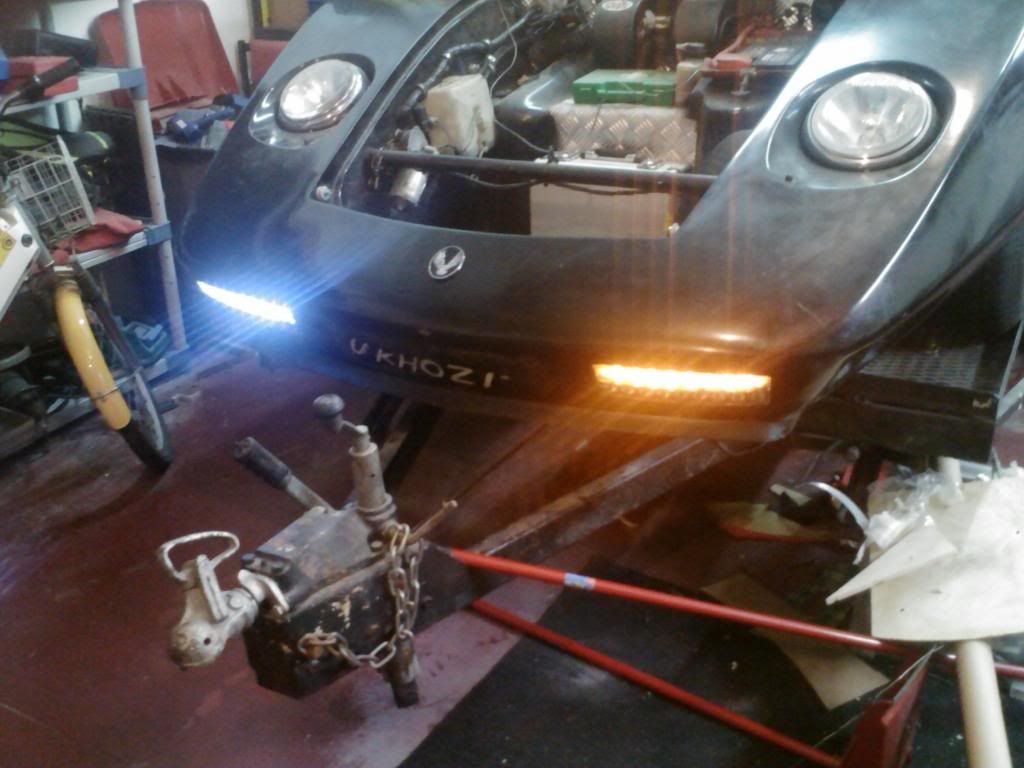 Fog lights 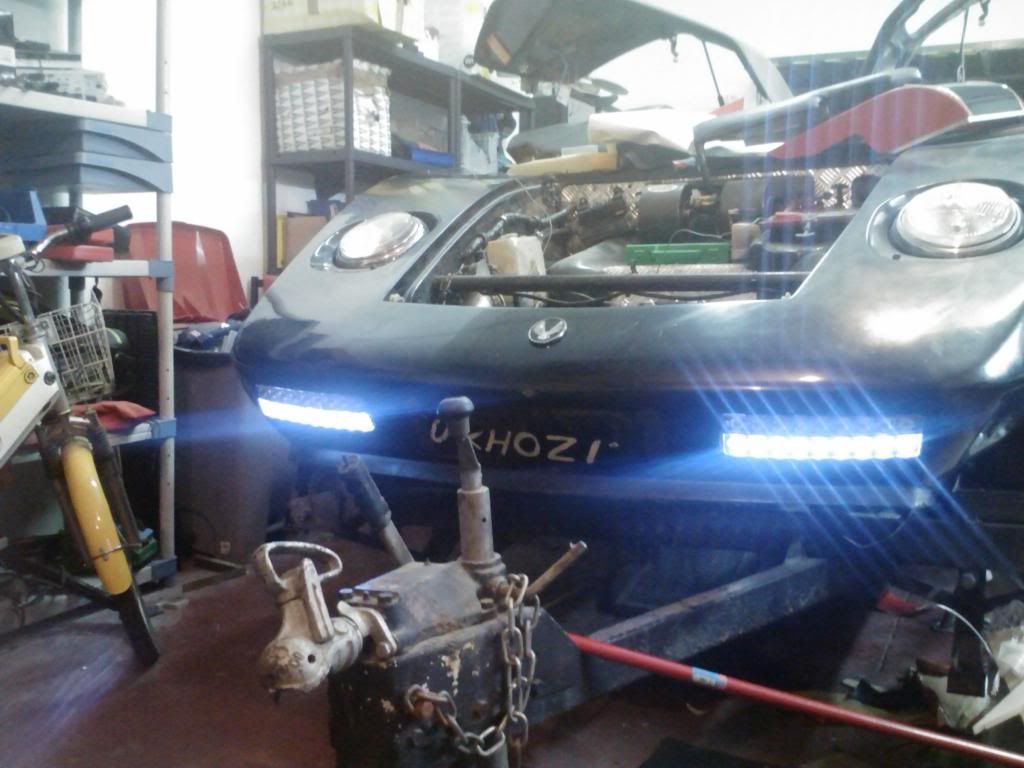 Side and fogs 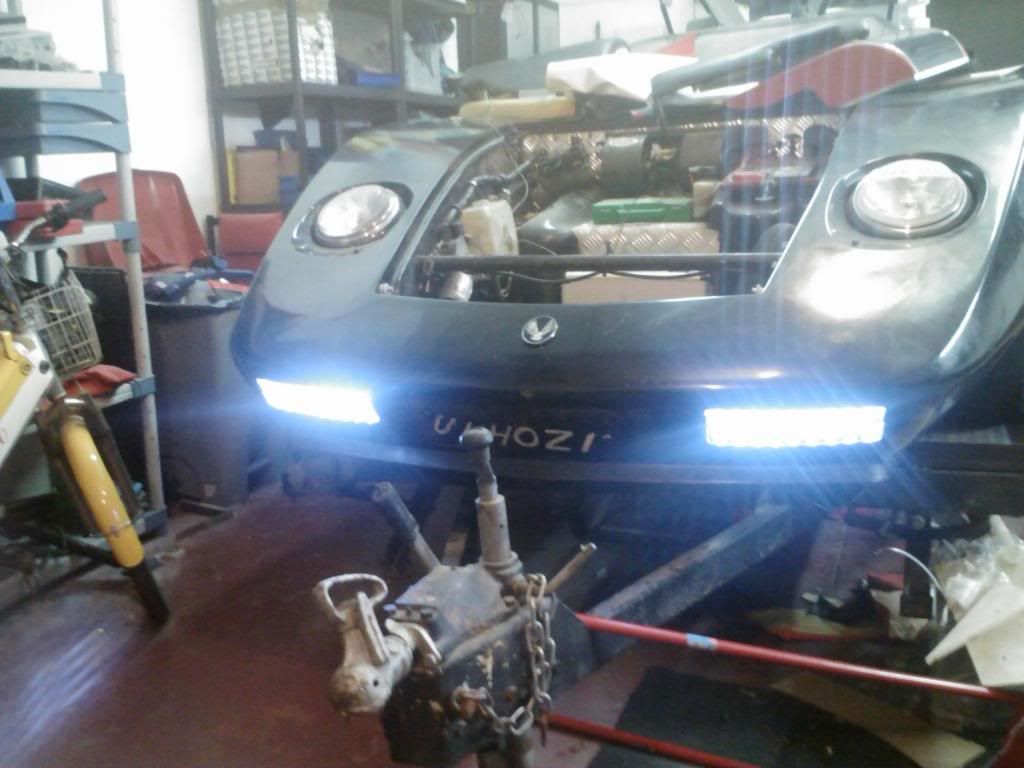 Sides only 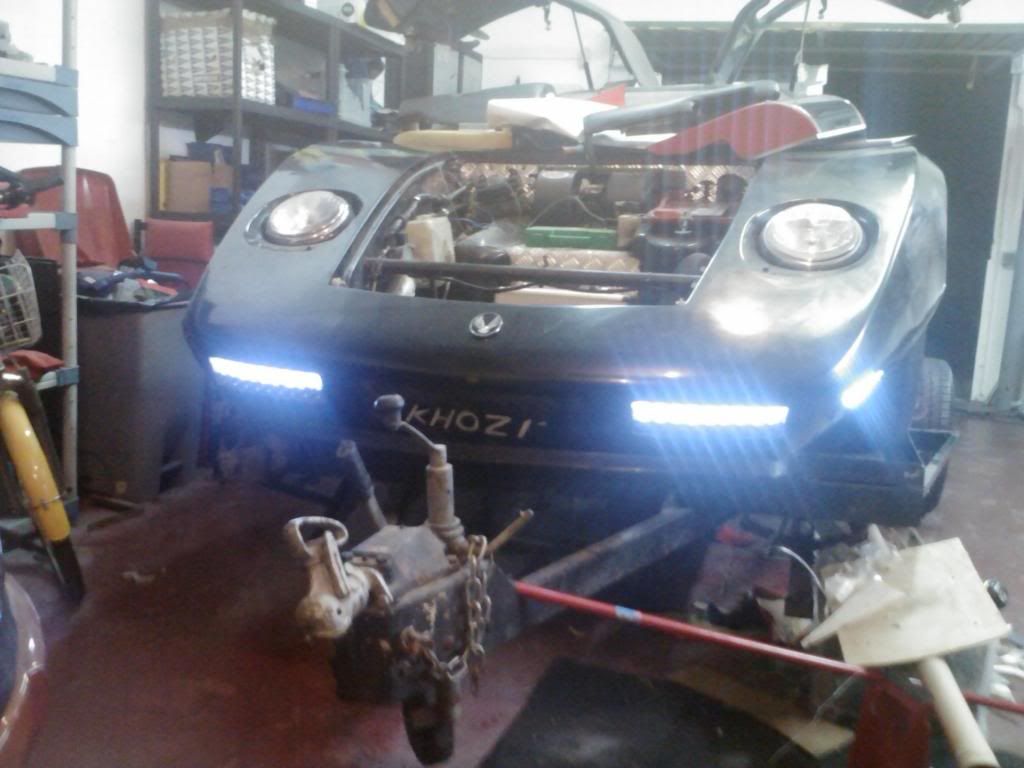 Door puddle and repeaters 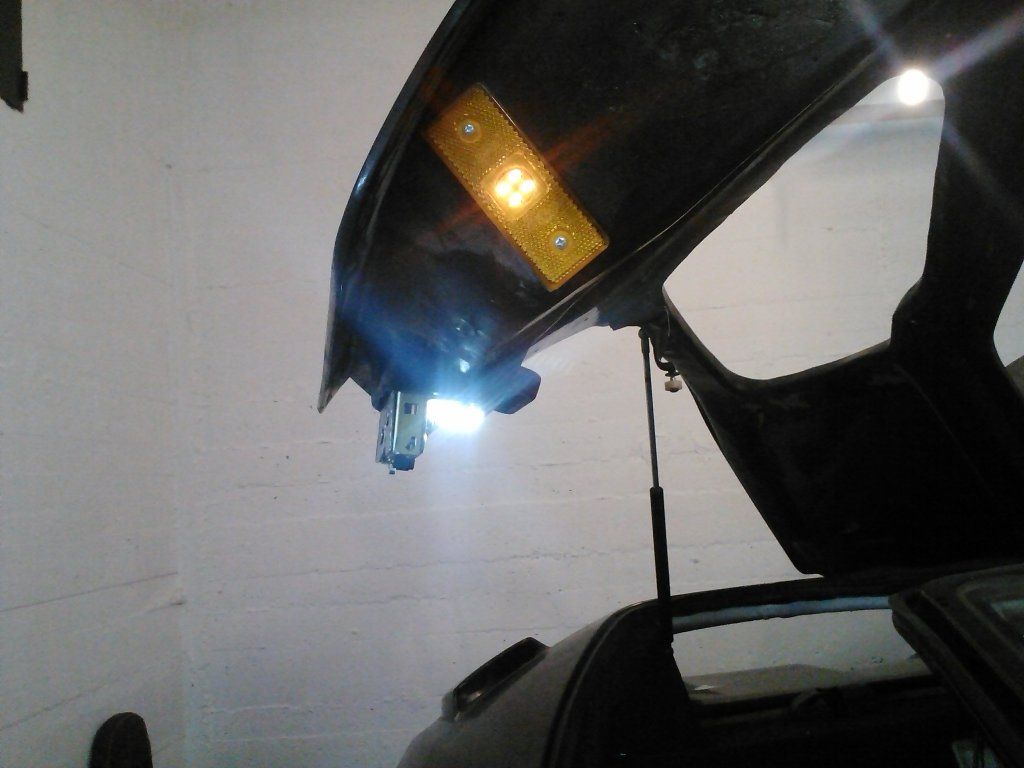 Blue LED under lights 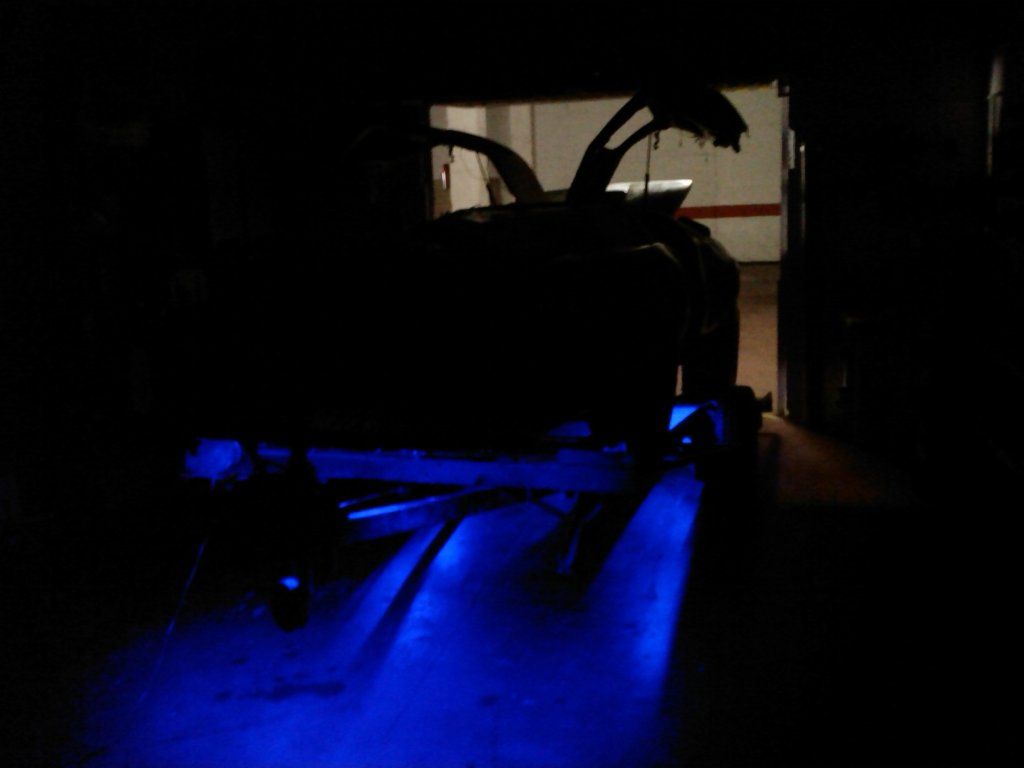 Day light running lights DRLs 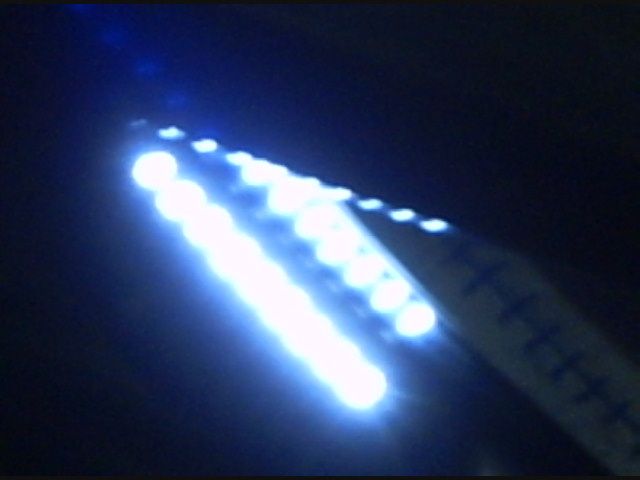 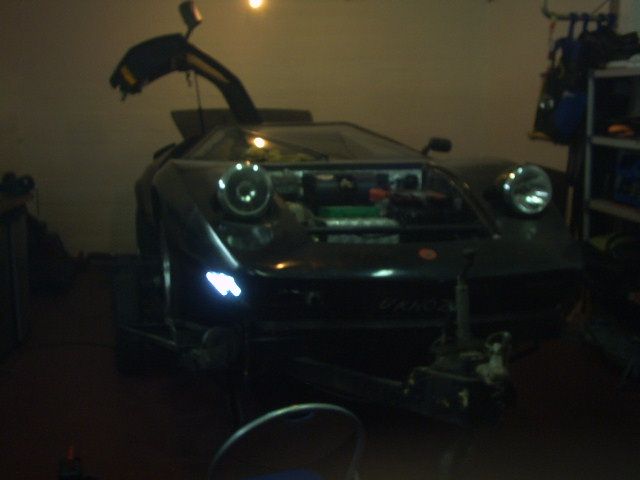 Engine 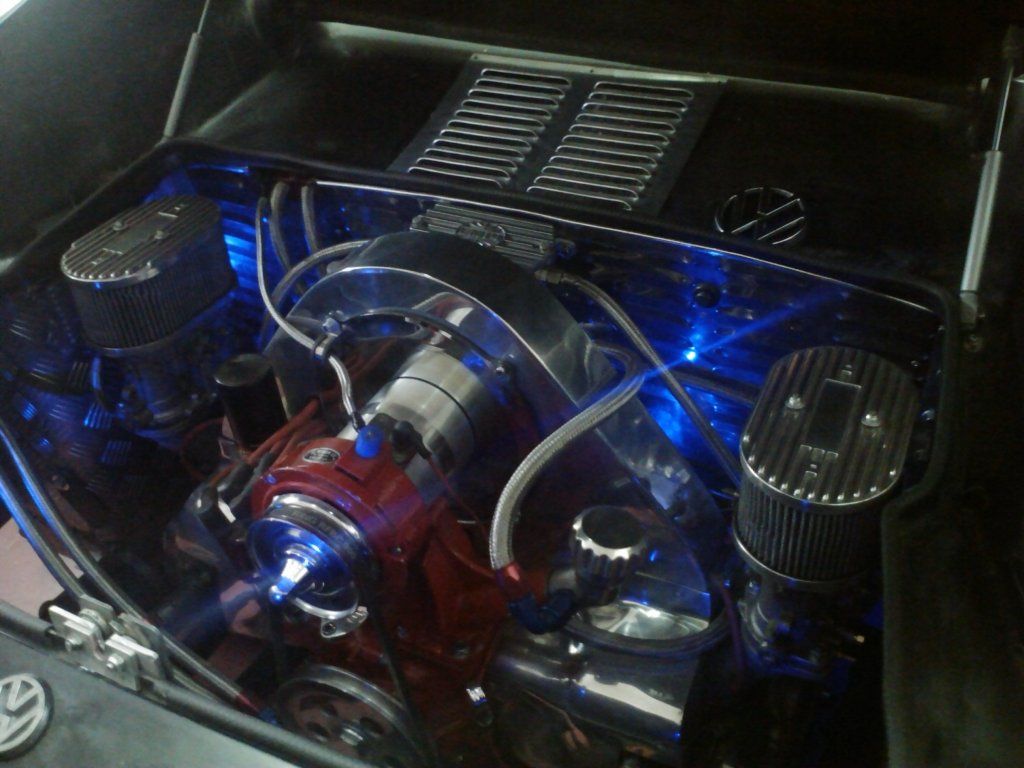 Still to do are interior red LEDs but the seat back and front are installed and the centre consul back lights are working. 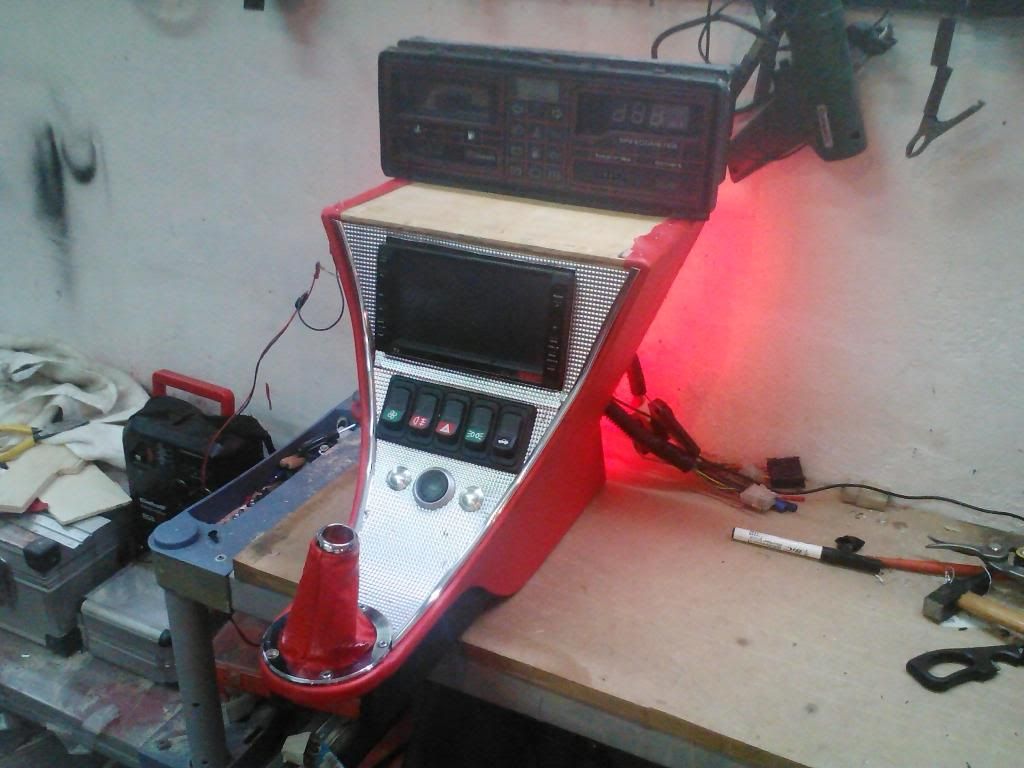 |
|
|
|
Post by Peter on Sept 14, 2013 11:05:38 GMT
Dam, bugger and blast! Just when I can the light at the end of the tunnel, and it's not another guy walking towards me with a torch looking for my end of the tunnel, unsure[1]the misses blows the head gasket on the Corsa, AGAIN! ![cursing[1]](//storage.proboards.com/658221/images/cfTn3T5UL4wuItbNCxN1.gif) so that's next week screwed, just as I got the throttle pedal (skateboard wheel) roller and the alloy for the throttle is due any day. ![banghead[1]](//storage.proboards.com/658221/images/5SVAstLFuxqFEhSmIvmP.gif) |
|
Deleted
Deleted Member
Posts: 0
|
Post by Deleted on Sept 15, 2013 11:15:32 GMT
I know that feeling. after me rebuilding the top end of my omega engine due to a broken timing belt just over a year ago my head gaskets just gone too !!! grrrr
|
|
|
|
Post by Peter on Sept 16, 2013 13:03:15 GMT
Attachment DeletedAnd that's why it's called UKHOZI The Alloy arrived today for the throttle pulley conversion but I don't have a car!. So now I could do the throttle conversion and the roller pedal, but I can't, Grrr Attachment DeletedMy BMW E30 is on loan to my son-in-law as his Beemer 525 has a bust ignition lock, (do NOT hang large bunches of keys on the ignition key) My wife blew up the Corsa, new head gasket at the least, so the A170 is out with her Forward Metals are BRILL! David replies to messages and emails on SUNDAYS and evenings, They cut the 2 1/4" billet into 8mm slices ready to machine, (I say "machine" in the loosest possible terms) and post really fast. The slab of 3"x1/2"x10" (250mm) is clean, straight and all good quality. It really is refreshing to get great service at a really good price. Doing a DIY course in 'Anodising' now so I can put MORE BLING into the job, nice red I think, seems quite easy with the difficult part getting it all polished and super clean before you start. Materials, car battery acid, distilled water, (50/50%) plastic bowls, lead plate, wire, alloy rod (to hang parts on), and AC adaptor (12v 500ma) with the ammeter scale from the multi-meter everyone has and a VR to set the amperage. all from local stores and a pot of near boiling water to 'seal' the finished parts. Takes about 2 hours in all. Plenty of 'how to' videos on you tube.
|
|
|
|
Post by Peter on Sept 20, 2013 10:30:07 GMT
Despite having a load of stuff to be able to do more on the Eagle my wife's Corsa has to be fixed first so I can have my car back. head gasket blown; New Gasket set and head bolts, £41.50 Head skimmed, £42.00, new water pipe at rear of block, £25.30 = £108.80. ![bawling[1]](//storage.proboards.com/658221/images/iNy6IDtjmv_DVwvCntc0.gif) Plus a days work on the pavement outside. I love being a mechanic, sometimes.  |
|
|
|
Post by Peter on Sept 24, 2013 16:40:53 GMT
Exhaust down pipe ring arrived this morning so bunged that on whilst it was still cold and then took it for a spin (goes like stink) and fuelled up for tomorrows big run to Gib', I can have 'my' car back and take a run out to the workshop, I hope.
|
|
|
|
Post by scooby on Sept 25, 2013 1:22:01 GMT
How do you alter the colour of the anodising if you want, say, red?
(One of the few experiments I remember from back in Secondary school was when our chemistry teacher sunk a piece of aluminium plate in a pool of mercury and scratched the ali's surface a few times. He then removed the ali plate and we watched amazed as oxide grew from the scratches like ferns. The mercury somehow prevented the oxide layer from forming a skin as it normally would, so it could carry on oxidising to its heart's content. We think of aluminium as being a corrosion-free metal, but it's its own oxide skin that seals the metal underneath and prevents further 'rusting'. Did I read somewhere that mercury isn't allowed on aircraft for the same reason - in case it spills and...)
|
|
|
|
Post by Peter on Sept 25, 2013 9:28:49 GMT
So who needs a bomb? just a scratch and drop of mercury, jobs done, eventually. Alloy is actually slightly porous which is why it has to have a protective coating in many applications and why I am teaching myself to anodise it, easy really, just need to be patient. Wife's Corsa is in Gib' no problems reported so I can now take the darn dog to the vets as he has chewed his tail raw, idiot dog! instead of driving to the 'shed and some work. |
|
|
|
Post by Peter on Sept 27, 2013 22:14:59 GMT
DOGS! Just blown the entire budget for the door linear actuators on their annual jabs and grooming, and you think cars are costly!  |
|
|
|
Post by Peter on Oct 1, 2013 14:37:06 GMT
I see FUZZ in the USA has actuators on his Cimbria (SS) but great big ones off of the floor and straight up behind the seats, about 2" thick, look like they came off of a garage door.. I think I can go a bit more subtle than that. Not exactly CNC. more See and See if it fits. but I have made the first of the two `pulleys, now I know they fit and the right size etc I can get stuck in polishing, and yes, the grooves were intentional but may well disappear. Master pulley, before nipple holes drilled. 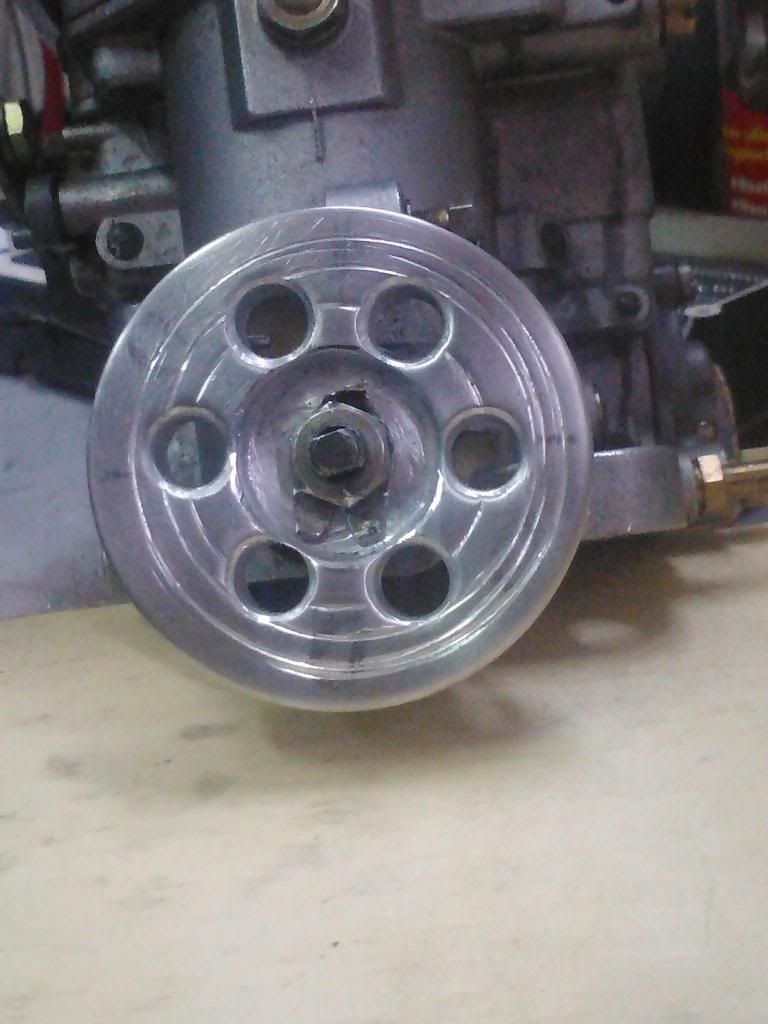 Groovy 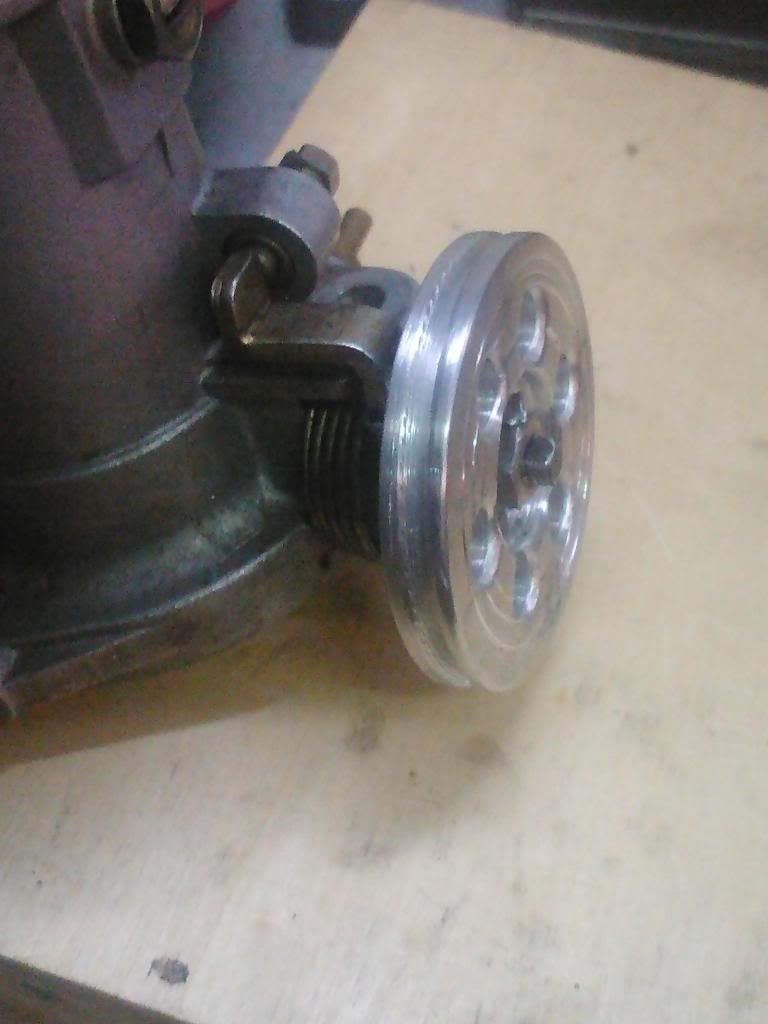 marked ready for cutting 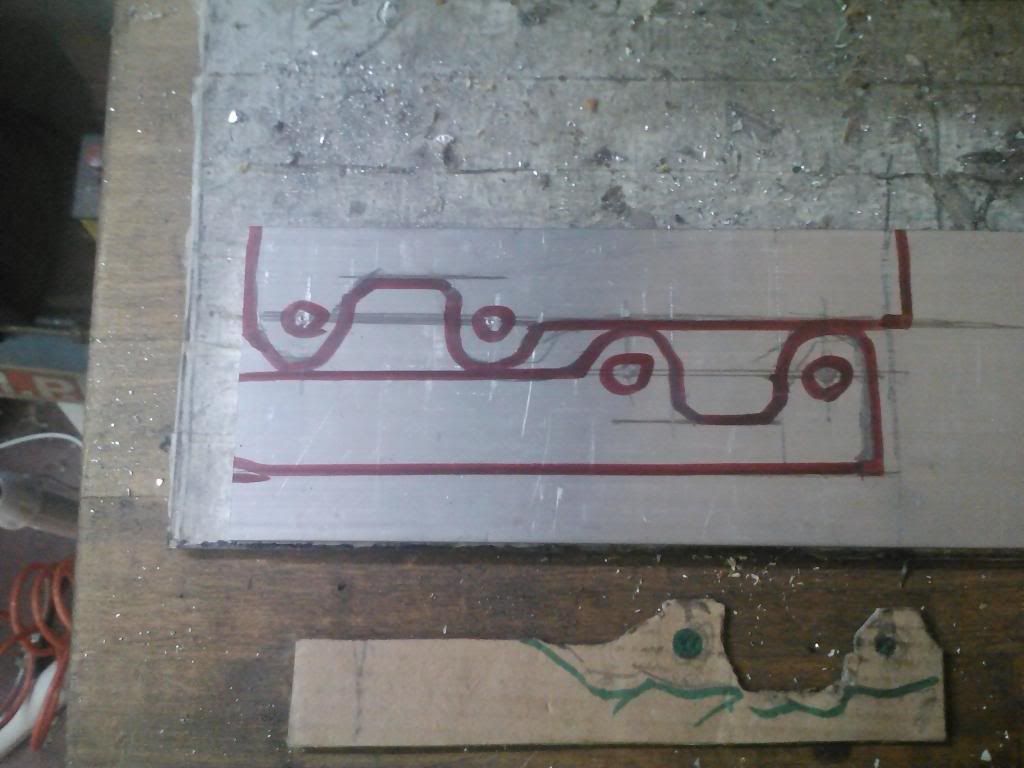 Skateboard wheel, roller throttle pedal, feels really smooth.  |
|
|
|
Post by Peter on Oct 3, 2013 19:11:40 GMT
If I ever sell Ukhozi it will be to pay for this, IF, Attachment DeletedTad under 5,000 quid, exactly what I had in 1967-68 for 296 pounds, ON THE ROAD! Attachment DeletedMine as it was 1968 £300 on the road It is a beauty though, Lambretta SX200, possibly the sexist scooter ever made. |
|
|
|
Post by Peter on Oct 9, 2013 13:30:50 GMT
Work held up again by.... more work.  Apart from my 1987 BMW E30 needed a service and tune up, my 1987 Mercedes Cosworth engine needing shims and rebuilding and the A170 needing, well, everything, my 1999 Suzuki AN400 has had two engine blow ups, ![eek2[1]](//storage.proboards.com/658221/images/vSj4TVuwmNYSH8YDTJ5o.gif) dropped the exhaust valves, seems a common fault on older engines, well, I didn't trust the con-rod after the last episode, (the first episode snapped the rod and stuffed it through the back of the case cutting the rear tyre in half, at 70MPH So I was on the look out for a crank shaft and, yep, you got it, used one popped up on Ebay for a silly £55 plus £25 shipping by courier, (I say silly as they are £300 for a new one and S/H over £100) so I bought it even though I was skint and SWMBO was a bit niffed to say the least, so now up for a few days ripping the engine out, stripping and rebuilding so it runs properly. I did a re-bore and a Vertex piston kit about a year and a half ago but it blew oil out the breather and smoked so I left it, I guess the piston is not running true, AKA bent rod. But, me being me, I will get to be diverted from my main task as usual and I will get to tinker with the SS, get the right carb off and make the other pulley and the brackets at last. ![rock[1]](//storage.proboards.com/658221/images/WwlTZGzEzqS029BPkumN.gif) __________________ |
|
|
|
Post by Peter on Oct 17, 2013 12:47:37 GMT
Managed another couple of hours down the shed, I say "down" it's actually 25 miles 'down the coast road'. I 'turned' the second pulley on the drill, didn't realise just how difficult it was to get them the same, even with them bolted together on the same spindle and turned together, of course they have to have the same diameter grooves so both carbs' work in sync'. Got nearly all the crap 'lines' out of the first pulley so looks a lot better now and drilled the 6 x 8mm holes in the second one the same, two more 8mm holes to drill for the nipples as soon as I get then on the carbs so I can see where they need to be, then it's a good smooth down and polish and on to the brackets. Difficult bit now is 'milling' out the centre the same as the first one, that was a pain to do, case of drill out as much as possible within the mate hole ring and then using a 8mm router bit in the pillar drill and remove the rest by hand. It didn't really matter what the exact finished diameter is as long as they are the same, it just means a different of 5mm +- in the pedal travel and that's no big deal as there is plenty to spare. Most of the time was spent filling two big bags with the rubbish from the centre console rebuild and various 'good idea at the time' rubbish, then a sweep up and hoover and then shift a load of crap SWMBO says is vital to keep ![confused2[1]](//storage.proboards.com/658221/images/Hnf6_PWrRzqdv0t6nVL7.gif) into some semblance of order so I have room to rip the Suzuki Engine out as I now have a 'new' crankshaft to fit at last. ![banana091[1]](//storage.proboards.com/658221/images/hPS8GPcvjxbdKlOp6lIL.gif) . |
|
|
|
Post by Peter on Oct 24, 2013 8:35:29 GMT
Nearly got a bit more done, actually laid a hand on some parts but my trip to the 'shed' was to get tools to change the drive shaft boots (at the kerb) on mother-in--laws old Honda Civic and change a leaking front brake line ("my brakes don't work") which is how I saw the split boots. Never a dull moment when you are mechanic and there are 7 cars (and a scooter)in the family
|
|
|
|
Post by Peter on Nov 4, 2013 18:47:59 GMT
-------------------------------------------------------------------------------- Found out that after I made a perfectly matched pair of brackets the left one wouldn't fit, I blamed the stud spacing on the manifold but the mismatch was actually in the carburettor body, the casting where the cut out between the holes are is bigger by 0.5mm on the left than the right and as I had contoured the bracket for a snug fit, it didn't!. Right single bracket Attachment DeletedHaving bought some 8mm cable nipples I was somewhat niffed to find they were actually 9mm OD, so I had to drill out the pulley holes, having already bolted them on the carbs . Four new studs made and fitted. Attachment DeletedOne down and one to go, getting there, slowly. When it's all fitted and working I'll pull it all down and go bonkers with a buffing wheel and get a nice BLING shine on. |
|
|
|
Post by Peter on Nov 13, 2013 16:24:43 GMT
Well, that's another job ticked off. finally got time to finish the pulley system including making the ferrules, Works well and looks so good I think I'll just give it all a `polish and leave as it is. Not so happy with either the quality or front fixing of the OEM VW throttle cable, (bit too wiry and stiff) so may well change that when I come across some nice flexible stuff. Attachment Deleted |
|
|
|
Post by scooby on Nov 14, 2013 20:51:11 GMT
You made these ferrules? How did you anodise them that colour? That is seriously lovely work... ![love[1]](//storage.proboards.com/658221/images/WB905yHTE4BG54DShTfw.gif) Why two cables - is it a pull/push system? To be sure to be sure. |
|
|
|
Post by Peter on Nov 15, 2013 17:33:57 GMT
I wouldn't say makeing the stuff was easy but if I had a lathe and a band saw it would have been a doddle. the blue ADJUSTERS were bought in, for three quid a shot it wasn't worth making them, the FERRULS I did make, in my faithful Bosche drill.
Well pleased with the roller pedal though, that skateboard wheel works great, so smooth under foot.
Anodising is easy, just some battery acid, distilled water a plastic box, some lead plate, pure alloy rod to hang the bits on, a 12v AC adaptor, (about 500ma is good) and some dye, any colouring agent will do. Follow instructions from a number of sources on You Tube.
Decided not to do the main bits in colour but I will do them in clear or maybe a slight yellow tint, maybe.
Cable system works dead easy, main throttle cable pulls left pulley which in turn pulls right pulley and return springs on the carbs snap them shut.
Current main cable is a VW throttle cable and too stiff s I'm changing to motorcycle 'softer' type.
Also the VW fitting at the pedal is just a Z hook and a bit sloppy so I'm welding another bit to the bracket and using a barrel nipple as on the pulleys.
Things are really starting to come together now with all the engine, fuel system, lighting, LEDs, seats, consoles and dash and I am getting near the stage where I can concentrate on the door and headlining trim.
|
|
|
|
Post by Peter on Nov 15, 2013 17:43:09 GMT
Honda passed the ITV test after the new brake pipe! yeah, another year on the road for mum in law, watch out if in Marbella area!
Just found out my old BMW is overdue too, bummer, 25th is the first date available but as long as I have a print out of the appointment it all good.
Going for a 'historic' reg this time, over 25 it's tax free.
|
|
|
|
Post by Peter on Nov 18, 2013 11:45:14 GMT
Gone and done it now, hope SWMBO doesn't find out,  I have bought a 12v linier actuator for the door to replace the gas strut. 200mm lift at 27mm a second, so full up in 7.4 seconds, it will push 600N so well up to it, (they say) if all goes well I will buy the right hand door one next month or January. I already have a 4 channel remote from a couple of ideas ago to operate the two doors independently, just need to work out how to work in the dash button via a latching relay to open from the inside and buy a pair of 'pip pins' so I can release one end in an emergency power failure so I can get out. Should look a bit like this when up and as it has the same length and stroke as the strut it should fit the same. Attachment DeletedThinking again, ![hmmmm[1]](//storage.proboards.com/658221/images/XKN5ScdKR1O8cJ3IeDgW.gif) what about replacing that noisy, heavy wiper motor for the headlight pop up with an actuator? Hmmmm. Just found out that the little LEGO actuators have quite a strong action for a plastic toy item, tiny too, so for opening small flaps etc. ideal. |
|
Deleted
Deleted Member
Posts: 0
|
Post by Deleted on Nov 18, 2013 18:26:28 GMT
interesting  can I be cheeky and ask how much the door actuator was ? Brett |
|
|
|
Post by trike on Nov 18, 2013 19:54:34 GMT
Well, that's another job ticked off. finally got time to finish the pulley system including making the ferrules, Works well and looks so good I think I'll just give it all a `polish and leave as it is. Not so happy with either the quality or front fixing of the OEM VW throttle cable, (bit too wiry and stiff) so may well change that when I come across some nice flexible stuff. Check out www.venhill.co.uk/Do some nice stainless braided throttle cable kits Not cheap but certainly looks good. Bought some a while back for my trike,but will probably use on the SS. |
|
|
|
Post by Peter on Nov 18, 2013 20:50:13 GMT
Well, that's another job ticked off. finally got time to finish the pulley system including making the ferrules, Works well and looks so good I think I'll just give it all a `polish and leave as it is. Not so happy with either the quality or front fixing of the OEM VW throttle cable, (bit too wiry and stiff) so may well change that when I come across some nice flexible stuff. Check out www.venhill.co.uk/Do some nice stainless braided throttle cable kits Not cheap but certainly looks good. Bought some a while back for my trike,but will probably use on the SS. Their kit are not cheap but seven quid a meter is not to bad for 6mm braided outer but I just blew my months budget on the first of two actuators for the doors. I have add the site to my favourites for future ref, thanks. |
|
|
|
Post by Peter on Nov 19, 2013 15:37:59 GMT
|
|
|
|
Post by Peter on Nov 22, 2013 19:38:01 GMT
Holy .....hole batman. Attachment Deleted and into it goes Attachment Deleted So apart from playing with my 4 channel remote module and finding out it has 4 separate latching relays wich is good as I only need two for the actuator relays. |
|
|
|
Post by Peter on Nov 27, 2013 13:37:07 GMT
Attachment DeletedAttachment Deleted Job today was to wire up for the two 4 channel remote relays, one (jog) for the LED lighting (Blue skirt and nose, Red seats, Red cabin, blue engine), so thereby removed the three switches in the armrest and replaced them with a clip to hold the remote pad and rewired LEDs to the space behind passengers seat and rather than use a second line of 5 pin 30/40A relays for the actuators change over I bought a interlocking 4 channel remote as the 10A relays on the controller are well up to the 3A max demand of the actuators. I have pre-wired for the second relay unit, (when it arrives in a day or three) and is wired up ready for the Actuator which is with DHL and on its way me at this very moment, darn fast from China to here in THREE days from Hong Kong>Leipzig>Vitoria>Seville>Malaga>Estepona. wow!. As soon as the other 4 channel remote (interlocking) arrives I need to find the trigger signal from the RF IC to the relays so I can wire in the console buttons too. Failing that I will just buy a second controller and hard wire the console buttons to the controller's PCB buttons and hide it in the console.
|
|
|
|
Post by Peter on Nov 27, 2013 16:41:17 GMT
The arrival this afternoon of the actuator after a blistering 3 day DHL service from Hong Kong was totally ruined by Spanish customs who charged me 9.83€ in tax, 15€ charges and tax on charges =27.78€ total, on a 45.88€ item! that's 60.5% Wrote to the seller asking if they could invoice the next one at under 20€ so avoiding tax. here's hoping.
Anyway, some good news is I have managed to revive my Bosche drill batteries, BOTH 14.4V battery packs died, nuffing, dead. wouldn't even take a charge, so I did the old flash with a battery charger and they live again. At 50€ a pop I hope to get a bit more life out of them and when they do die totally I am just going to buy some tagged sub-C cells and rebuild them.
|
|
|
|
Post by Peter on Nov 28, 2013 17:36:50 GMT
The beast lives! Only running it on a 12v battery pack so it might be a bit quicker with the cars battery behind it, mind you I played with it using a PP3 9v battery last night. Need to sort out the positioning of the mounts and spacers etc so much a work in progress but it lifts the doors like they are not there. bit noisy in the workshop but I'm sure once I have a cover over the motor and it-s outside it will be quite. So, pleased, just need to order the other side now without SWMBO finding out I've blown my Christmas money. Attachment Deleted |
|
Deleted
Deleted Member
Posts: 0
|
Post by Deleted on Nov 28, 2013 18:35:23 GMT
Nice one Peter. looks good |
|
|
|
Post by Peter on Dec 1, 2013 13:11:20 GMT
A always a small cash flow hick up, want stuff NOW, , army pension gets in bank Tuesday which is when I will order it, I only ordered one last month as I wanted to make sure it was up to the job and boy is it ever!, Remote relays should also be here next week too. Currently swapping wires over on my portable battery pack to operate it. Now I know it works I have to 'tune the length and angle to get the best operation and lock down, not too worried about how high it goes as long as its up there somewhere. Static end will have to be shorter so I may have to make the M6 hole into a ball socket as in plan 'A' and then I can use the ball on the rod of the other one and also incorporate the QR release pin. Only job I have had to do to fit them so far is to replace the old Rivnuts for the ball joints with new steel ones and move the base mounting back 1/2" so I get the door to shut tight but it needs to pull tighter then I can loose the VW Golf catches (and accompanying clutter, wires, solenoid, etc). NEW DESIGN IDEA!  Following a pop up spoiler I saw on a car the other day, I'm thinking that rather than have a 'wing' or 'lip' spoiler on the back I'll do a Audi TT-ish thing and have a pop up flap by making the rear 4" of the engine lid flip up at an angle with two small actuators (maybe central locking ones). If I leave the perimeter alone, (or even run a 10mm alloy square tube around it) and build a 'tray' in the back 4" I can the have the flap that's flush until it 'pops' up. Or,,, or,,, extend the wing rearward to make the 'wing' lay over the joint in the engine cover and rear of the car and out to the sides to the rear wings and have that as a 'lip' spoiler that turns into a wing. Attachment DeletedAttachment Deleted |
|


![cursing[1]](http://storage.proboards.com/658221/images/cfTn3T5UL4wuItbNCxN1.gif) so that's next week screwed, just as I got the throttle pedal (skateboard wheel) roller and the alloy for the throttle is due any day.
so that's next week screwed, just as I got the throttle pedal (skateboard wheel) roller and the alloy for the throttle is due any day. ![banghead[1]](http://storage.proboards.com/658221/images/5SVAstLFuxqFEhSmIvmP.gif)

![bawling[1]](http://storage.proboards.com/658221/images/iNy6IDtjmv_DVwvCntc0.gif)


![eek2[1]](http://storage.proboards.com/658221/images/vSj4TVuwmNYSH8YDTJ5o.gif) dropped the exhaust valves, seems a common fault on older engines, well, I didn't trust the con-rod after the last episode, (the first episode snapped the rod and stuffed it through the back of the case cutting the rear tyre in half, at 70MPH
dropped the exhaust valves, seems a common fault on older engines, well, I didn't trust the con-rod after the last episode, (the first episode snapped the rod and stuffed it through the back of the case cutting the rear tyre in half, at 70MPH ![rock[1]](http://storage.proboards.com/658221/images/WwlTZGzEzqS029BPkumN.gif)
![confused2[1]](http://storage.proboards.com/658221/images/Hnf6_PWrRzqdv0t6nVL7.gif) into some semblance of order so I have room to rip the Suzuki Engine out as I now have a 'new' crankshaft to fit at last.
into some semblance of order so I have room to rip the Suzuki Engine out as I now have a 'new' crankshaft to fit at last. ![banana091[1]](http://storage.proboards.com/658221/images/hPS8GPcvjxbdKlOp6lIL.gif) .
.![love[1]](http://storage.proboards.com/658221/images/WB905yHTE4BG54DShTfw.gif)

![hmmmm[1]](http://storage.proboards.com/658221/images/XKN5ScdKR1O8cJ3IeDgW.gif) what about replacing that noisy, heavy wiper motor for the headlight pop up with an actuator? Hmmmm.
what about replacing that noisy, heavy wiper motor for the headlight pop up with an actuator? Hmmmm.  can I be cheeky and ask how much the door actuator was ?
