|
|
Post by chrisbailey on Apr 9, 2023 15:29:00 GMT
Bit more progress, weather is getting nice now so hopefully will make some big leaps soon.
I finished off the frame supporting the nose. Its painted and I put end caps in to keep all the dirt out.
I got the nose cone back on after cutting holes for the front sidelights and indicators. The lights are mounted and wired in.
The nose cone needs cracks fixing and painting but that will be a future job.
I got the battery mounted and most of the wiring harness strapped up.
My next job is to make some supports for the pop up headlights. They are from a toyota supra and i grafted them in several years ago.
They work but wobble a bit when going up and down. Ill make a support out of some steel.
I've also ordered some aerocatch bonnet pins to secure the bonnet. Hopefully wont be too difficult to fit.
|
|
|
|
Post by Peter on Apr 10, 2023 17:57:06 GMT
Like the catches I have on mine. but be careful, even the genuine ones can snap like a carrot if any resistance accurse and I recommend reinforcing the lever underneath before it happens.
|
|
|
|
Post by chrisbailey on Apr 10, 2023 18:58:37 GMT
I hope they dont snap considering the price of the things.
I think Im going to fit brackets for the pins coming off the sides of the front tub rather than up towards the wind screen. The pins can only be 5 degrees out of perpendicular to the catch, that will be fun with the wobbly fibreglass, ha nothing is straight!
|
|
|
|
Post by chrisbailey on May 1, 2023 16:10:36 GMT
I have now got the front trunk lid on and aero catches in. I just need to set the height and I think that job is finished. The catches themselves are expensive but really nice quality units, baught direct from the manufacturer in devon. I have a few covers to fabricate yo finish off the front trunk. Think I will spray it all black in there before I move on to the next section, the interior. Anyway, some pics of the catches mounted and my front indicators and sidelights. 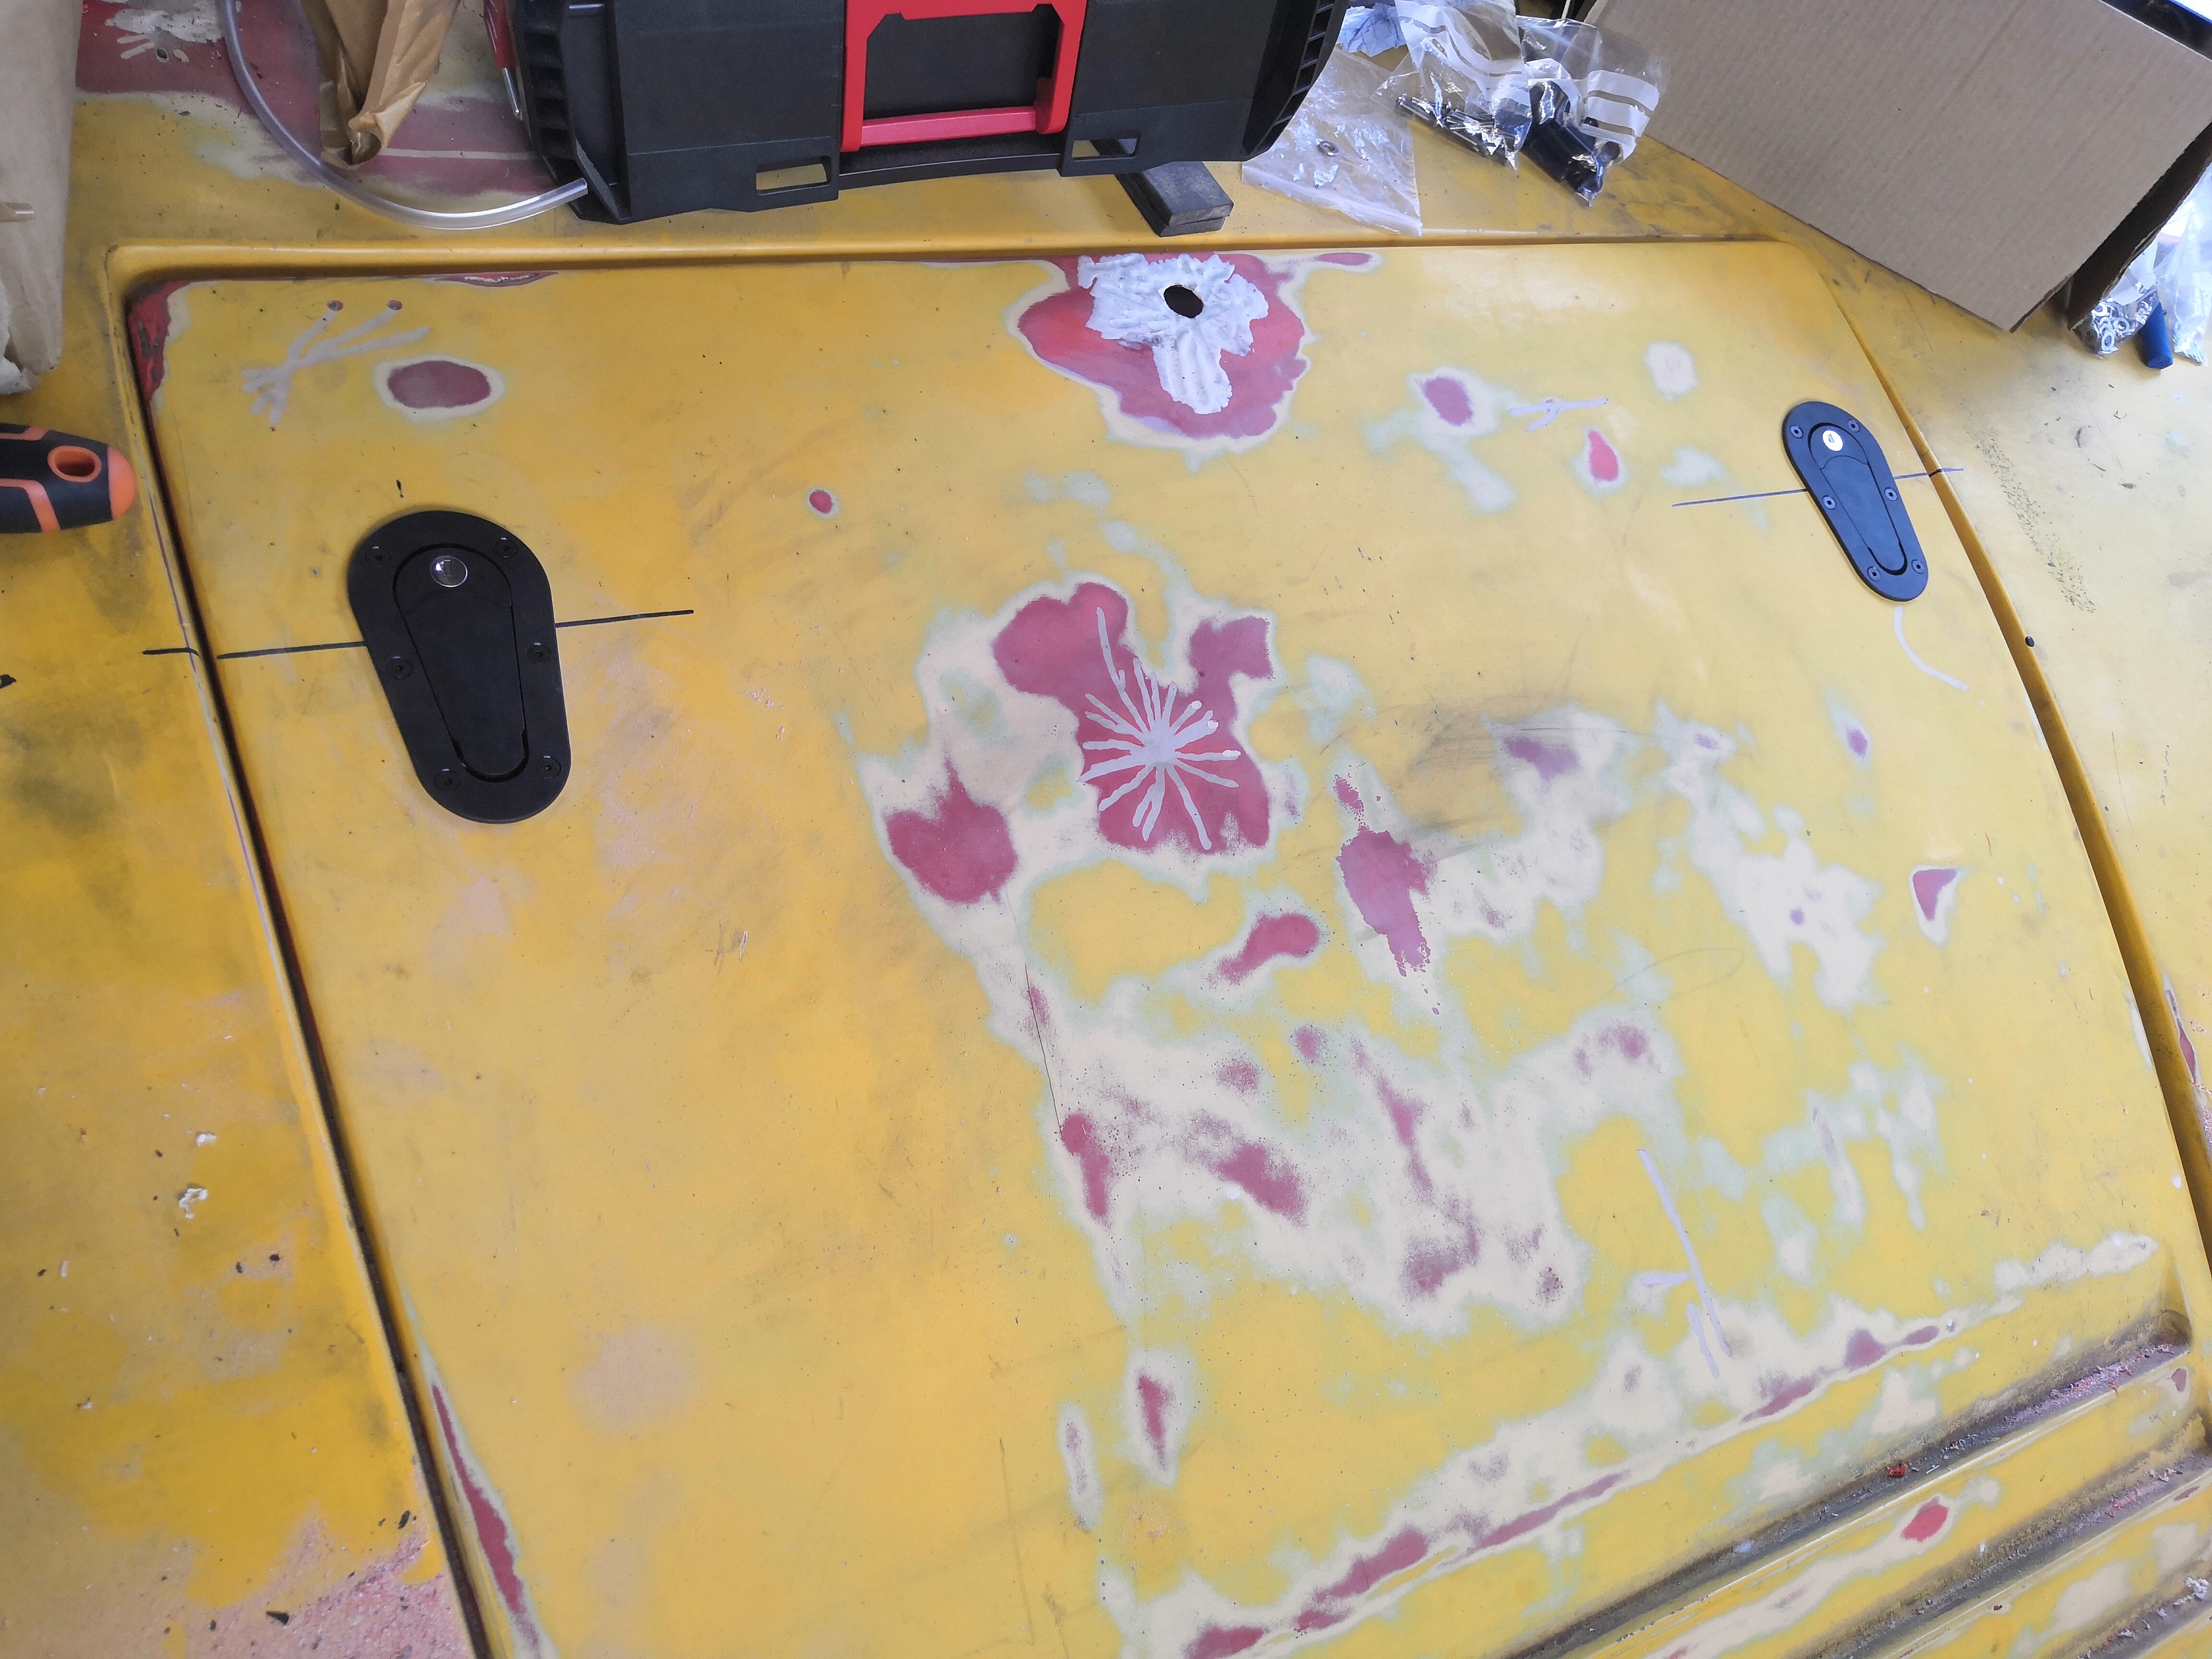 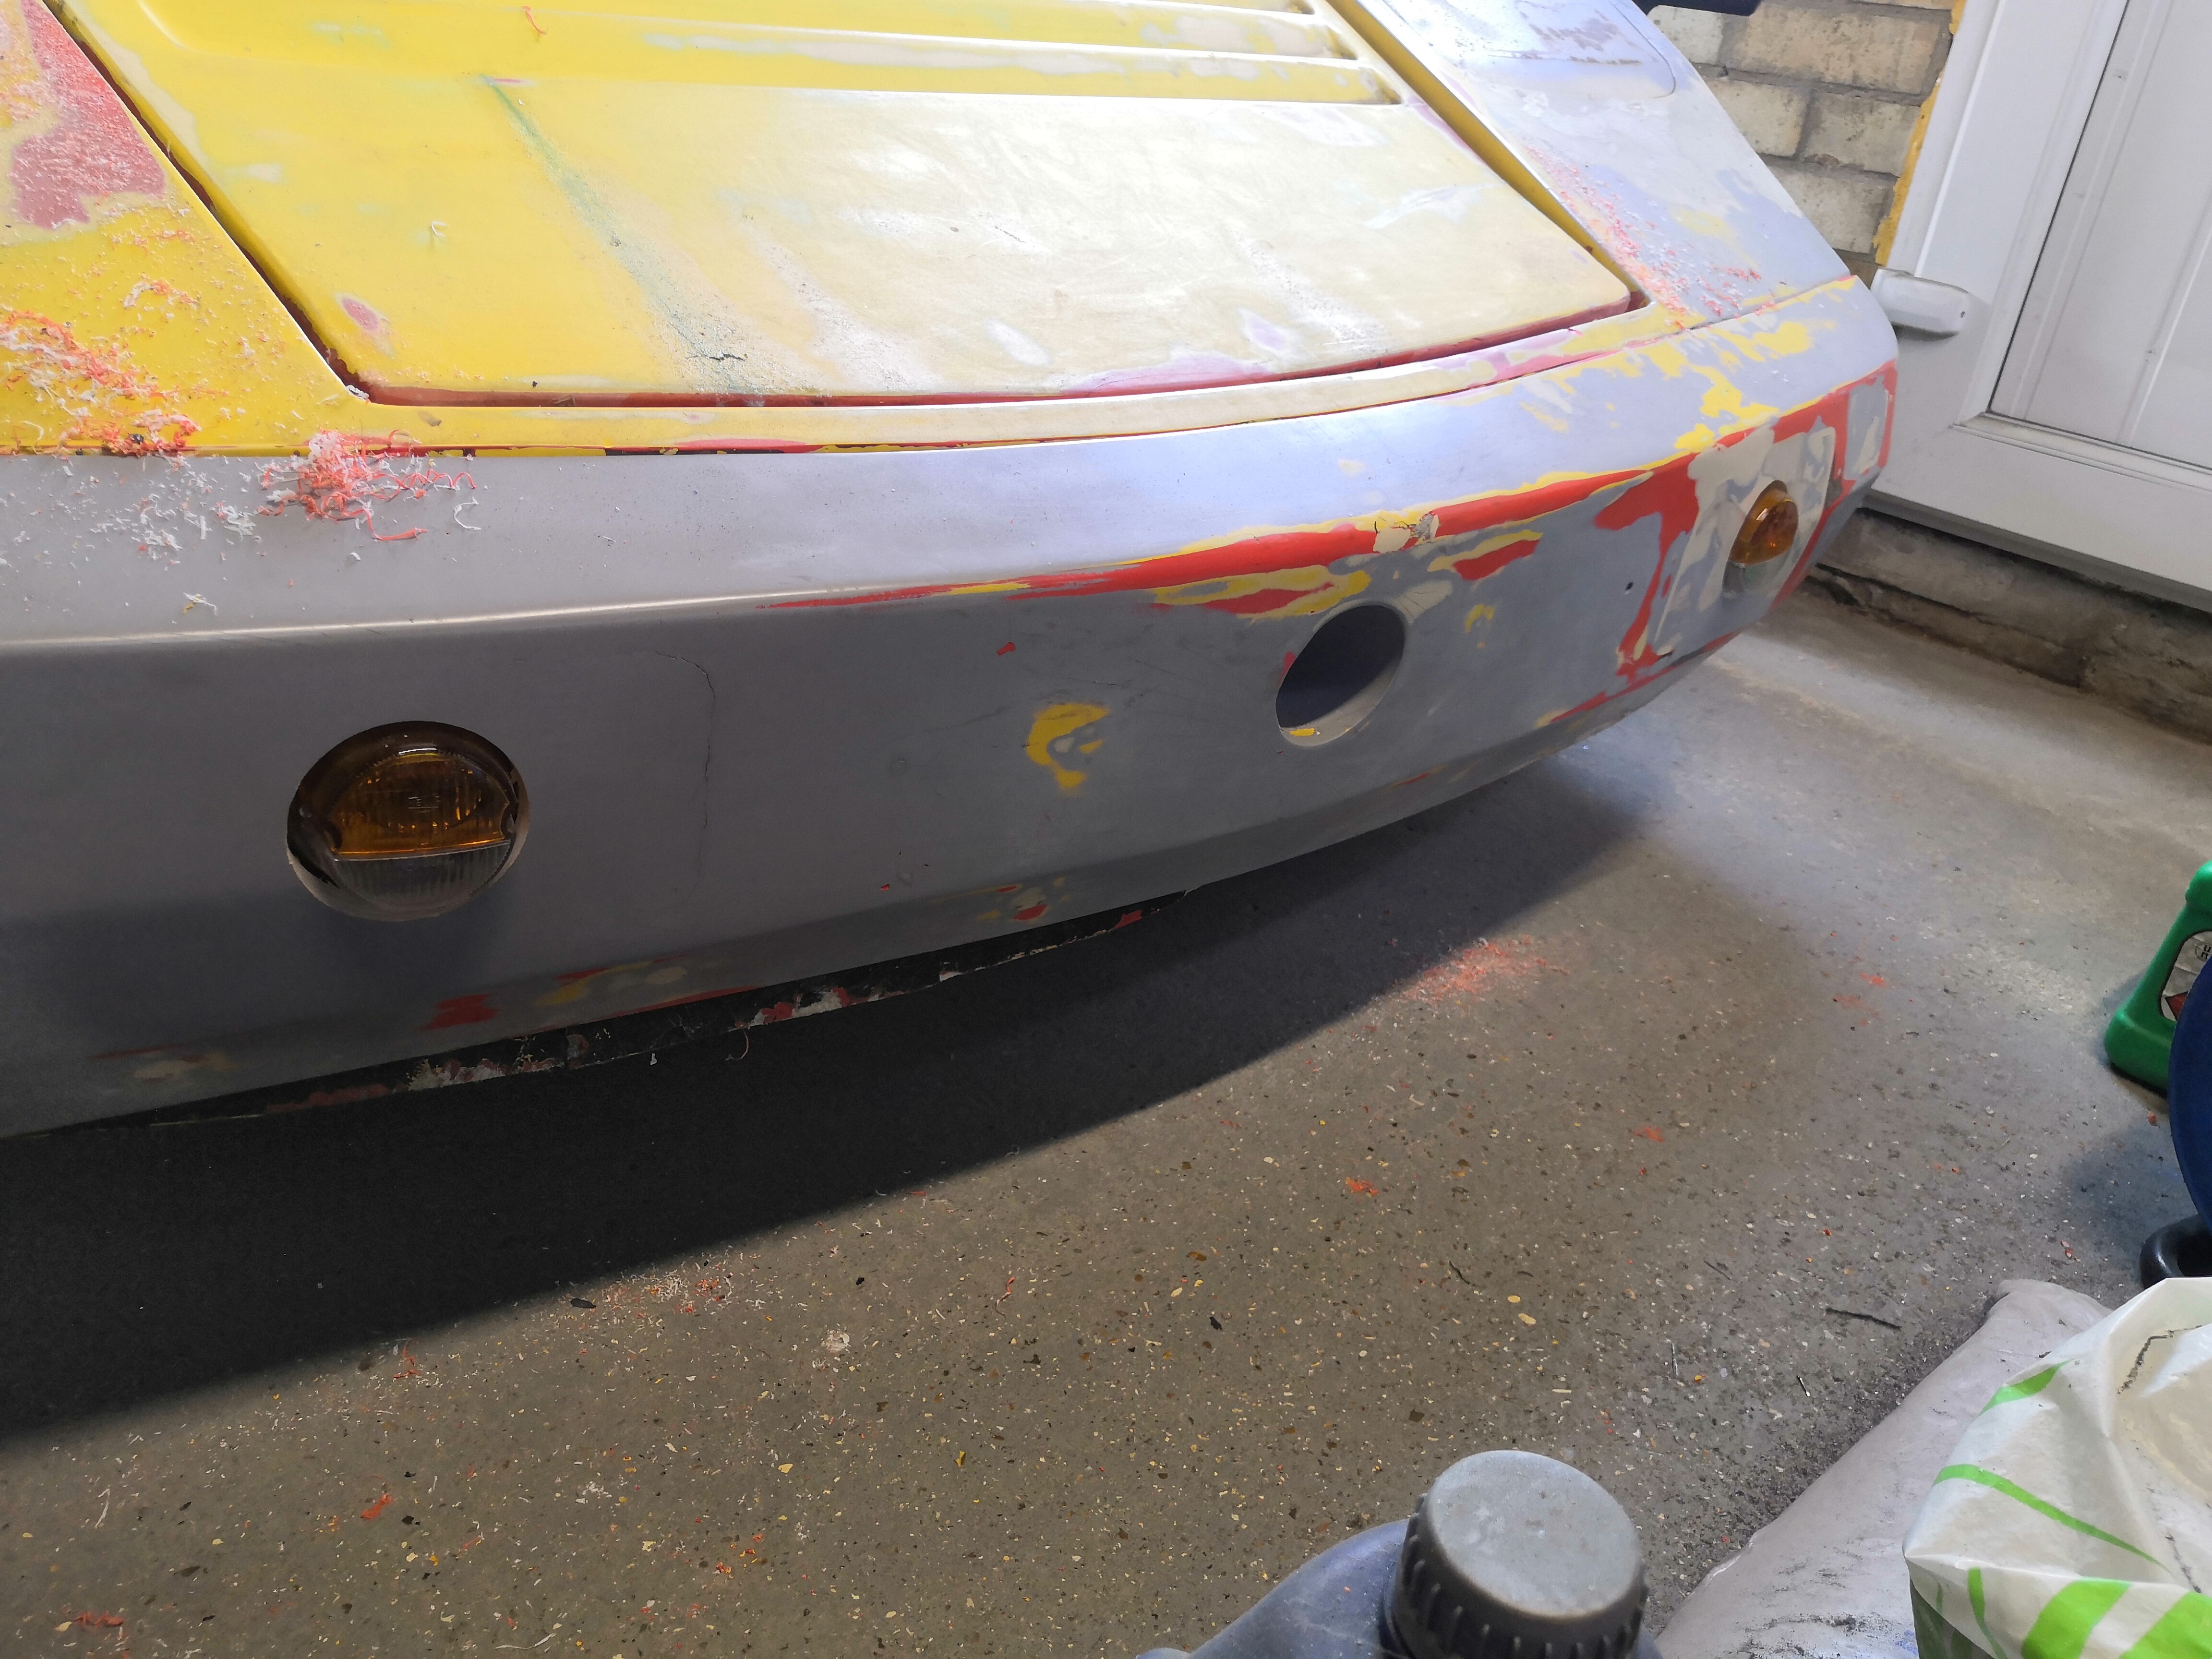 |
|
|
|
Post by Peter on May 2, 2023 11:28:14 GMT
Bit late now, or is it?, I glassed in a panel below the catch and dropped the catch into the lid so it was flush.  |
|
|
|
Post by chrisbailey on May 2, 2023 13:33:21 GMT
They do make a below pannel (flush) fit aero catch. Im quite happy with them so far so they will be left alone, I don't need any more jobs added to the list.
I baught some for the engine lid too since they work so well.
|
|
|
|
Post by chrisbailey on May 10, 2023 19:09:24 GMT
I got some mini bear claw latches from car builder solutions.
My next project is to get the doors closing and opening with the door handle.
The doors are in a rough state. Once I have them working it will be quite the job bonding them back together where they are splitting and repairing holes and cracks.
I bonded in stainless hinges many years ago but made the mistake of using normal body filler to fill big gaps. Ill be digging all of that out and trying again with fibreglass and resin.
Hopefully the weather sorts itself out and gives me a dry day to get going.
|
|
|
|
Post by Peter on May 13, 2023 12:22:37 GMT
I got some mini bear claw latches from car builder solutions. My next project is to get the doors closing and opening with the door handle. The doors are in a rough state. Once I have them working it will be quite the job bonding them back together where they are splitting and repairing holes and cracks. I bonded in stainless hinges many years ago but made the mistake of using normal body filler to fill big gaps. Ill be digging all of that out and trying again with fibreglass and resin.Hopefully the weather sorts itself out and gives me a dry day to get going. That will not bond old panels. better to use Sikoflex or 'no nails' and clamp the lot together, much stronger, Also less messy |
|
|
|
Post by chrisbailey on May 14, 2023 11:45:12 GMT
I'll try epoxy resin first. I can sand that down and paint over it. It's not as strong as a primary bond which is when it's all bonded together in the original mould, but it's how boats are repaired using secondary bonds. Think it's mostly prep of the old panels.
I need to add some structure to hold the bowden cables that I will be using to operate the latches.
I'll be using the 3d printer too, to make templates for the custom adjustable striker plates. Far easier to mock it up in plastic before I try with 4mm plate steel.
|
|
|
|
Post by chrisbailey on May 31, 2023 11:45:16 GMT
I remember how much I dislike working with fibreglass and resin now.
I have had a go and bonding parts of the doors back together. I think I was a bit fierce with the sanding wheel so lots to fill now.
I patched lots of the holes with epoxy and glass cloth. I struggled a bit with the splits around the side window frame as I couldn't get the glass to follow the original contours very well.
It will all be filled over anyway and I'm not super bothered about fitting the side glass windows anyway, takes some of the weight from the doors.
I'm going to try mixing the epoxy with industrial talcum powder to create a kind of bonding paste, then push this into the splits to see if that's easier.
I got the striker plate tacked up, just needs a final weld now and it lines the door up nicely. No adjustments though.
Having to wait 24 hours for the epoxy to harden slows everything right down.
|
|
|
|
Post by chrisbailey on Jul 1, 2023 13:11:08 GMT
I managed to get the door latch to operate with the original door handles. The Bowden cables work lovely. It wasn't that difficult to fit it all either. I have also bonded the door back together using epoxy resin. I used talcum powder to thicken it up so it could bridge the splits in the fibreglass. Now waiting for it to harden fully, takes 7 days before I sand it down ready for body filler. This was one of the jobs that has been stressing me out the most. Im very happy with how it's turned out so far. 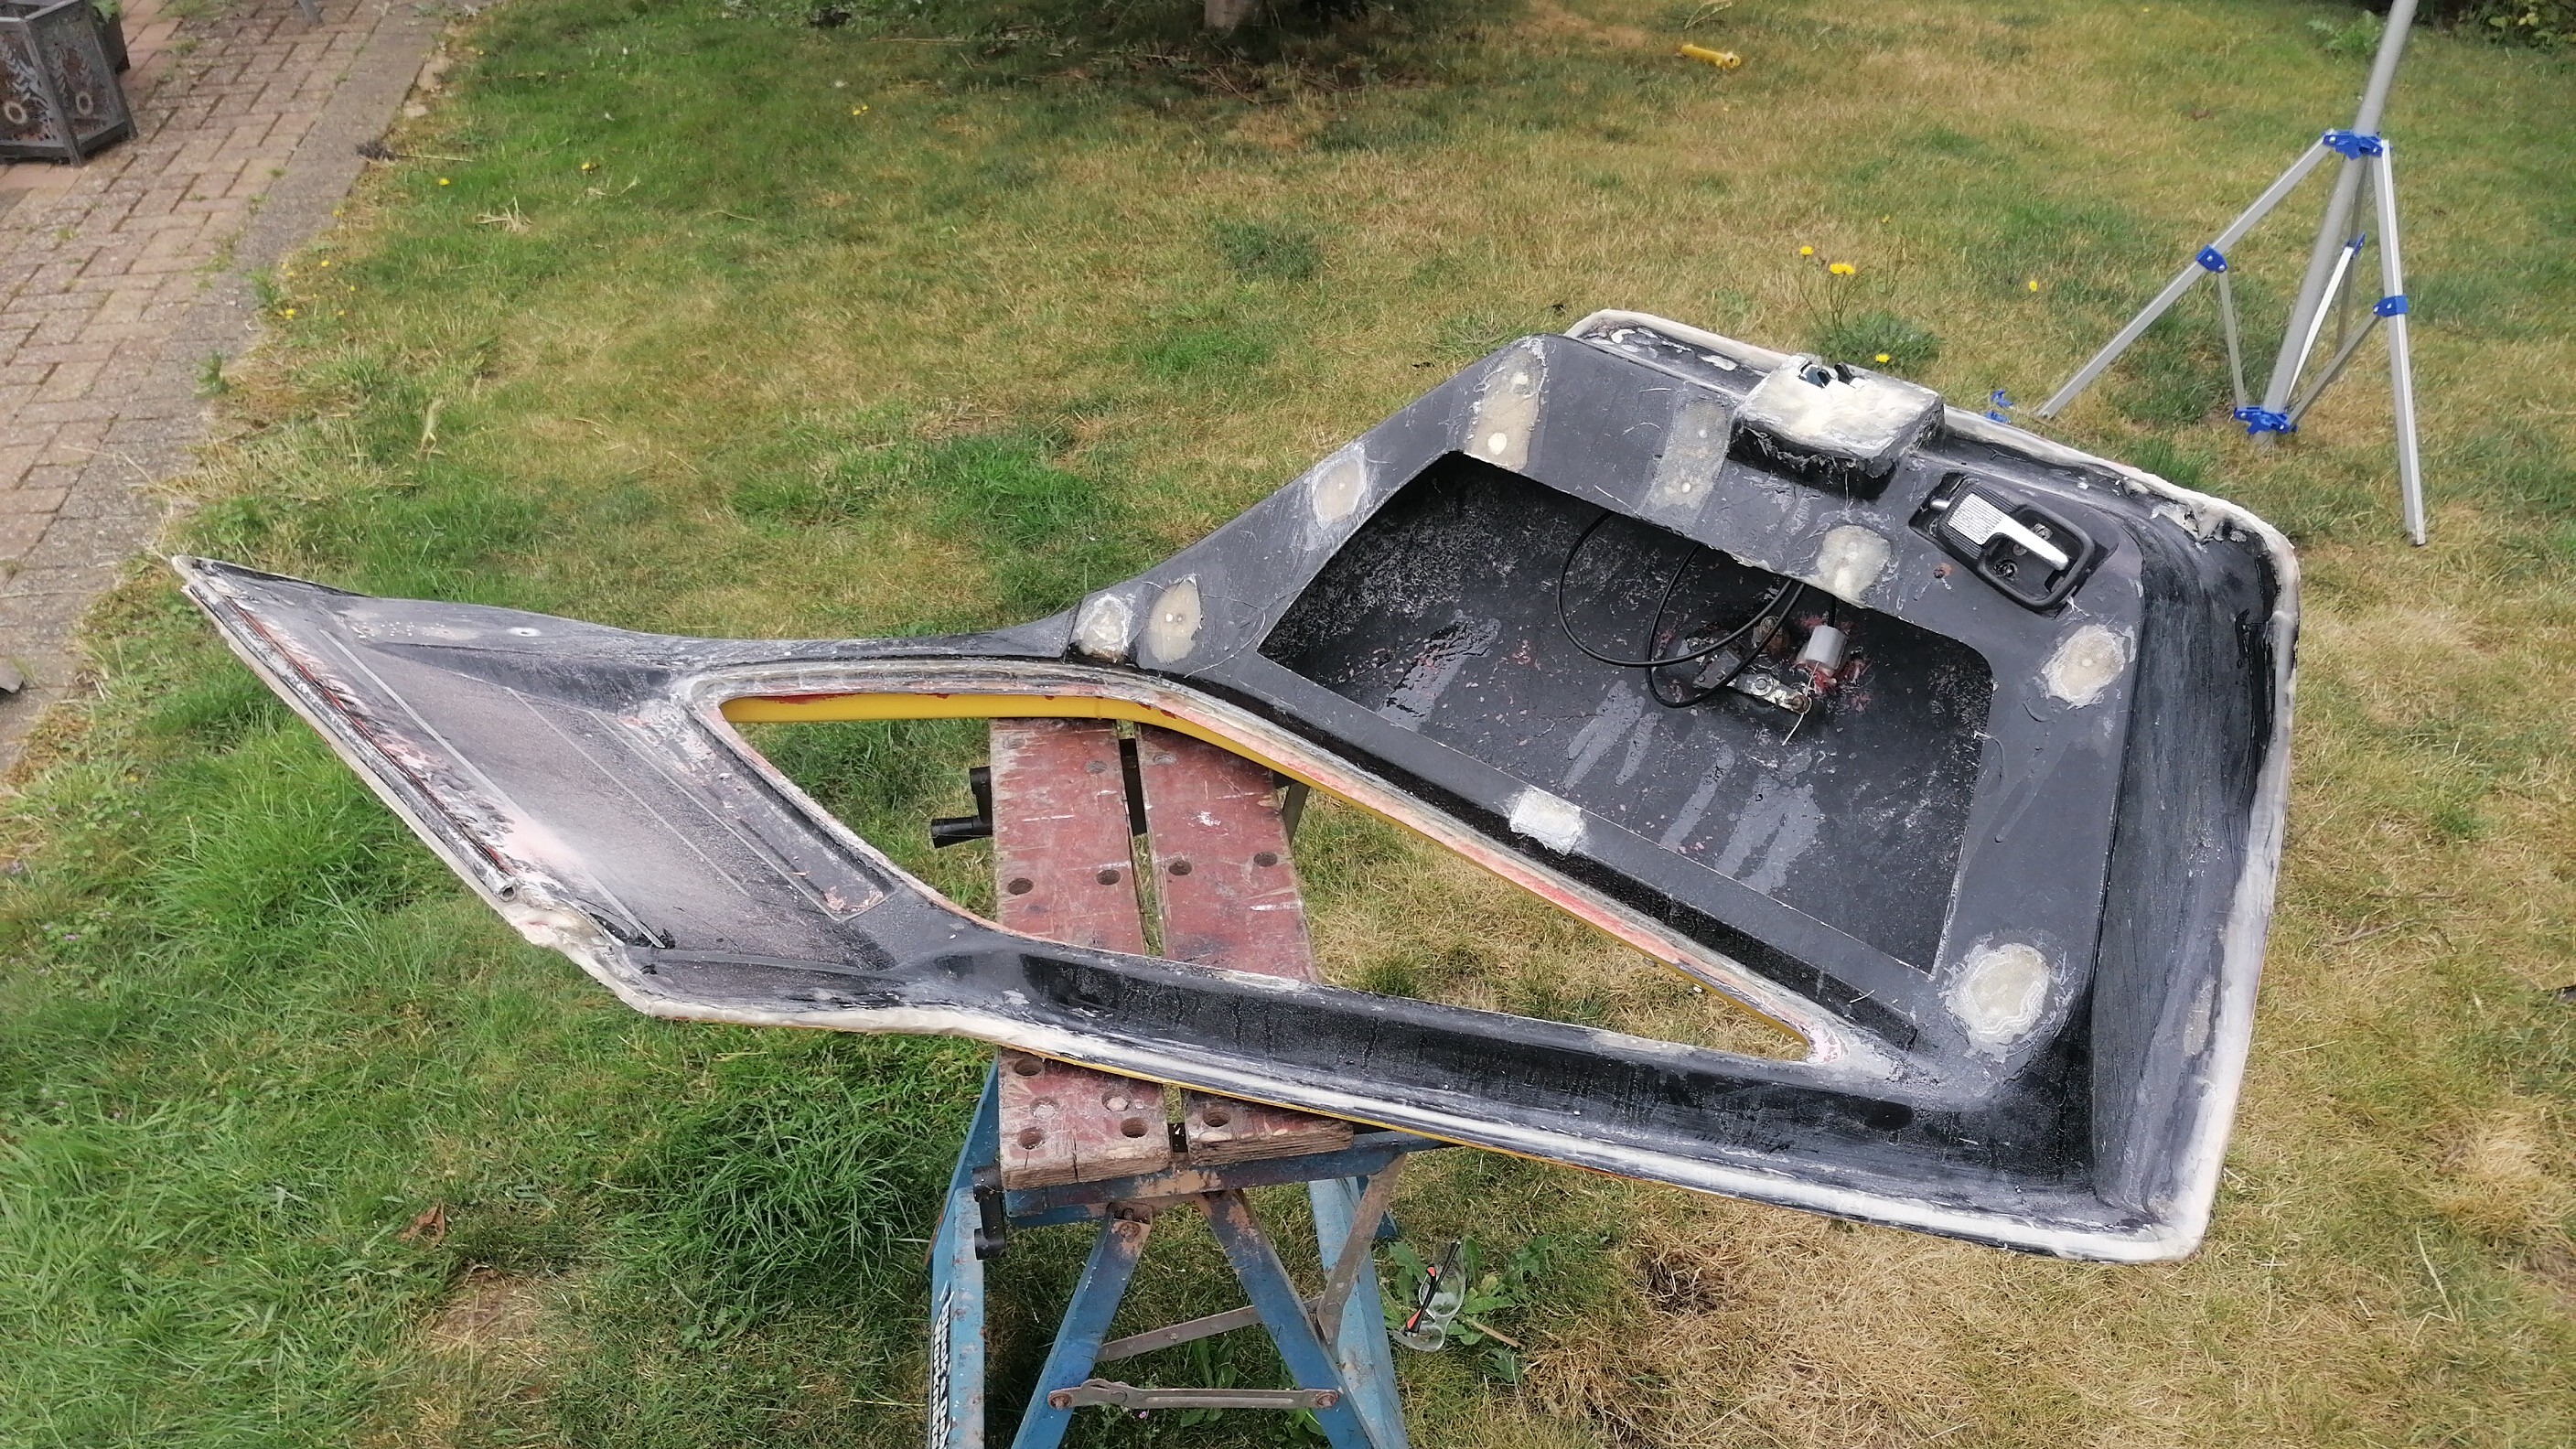 |
|
|
|
Post by terryrob on Jul 11, 2023 22:15:30 GMT
Brilliant Chris, nice to see you getting stuck in.
|
|
|
|
Post by chrisbailey on Apr 15, 2024 8:43:49 GMT
Been a while since an update. I got married last year so that stopped progress for a while.
As the weather brightens up this year, I managed to get the roll hoop mounted to the floor pan. This is to give the harness belts something to pull on in the event of a crash.
I also started on the dash board, just cutting the flat pieces out of plywood.
Hoping to get all the major jobs done this year for an Mot. Will be a bit of a rat rod though, paint and the nice bits will come later.
|
|